


Unlock Your Gaming Potential: A Guide to Building Your Own Gaming PC
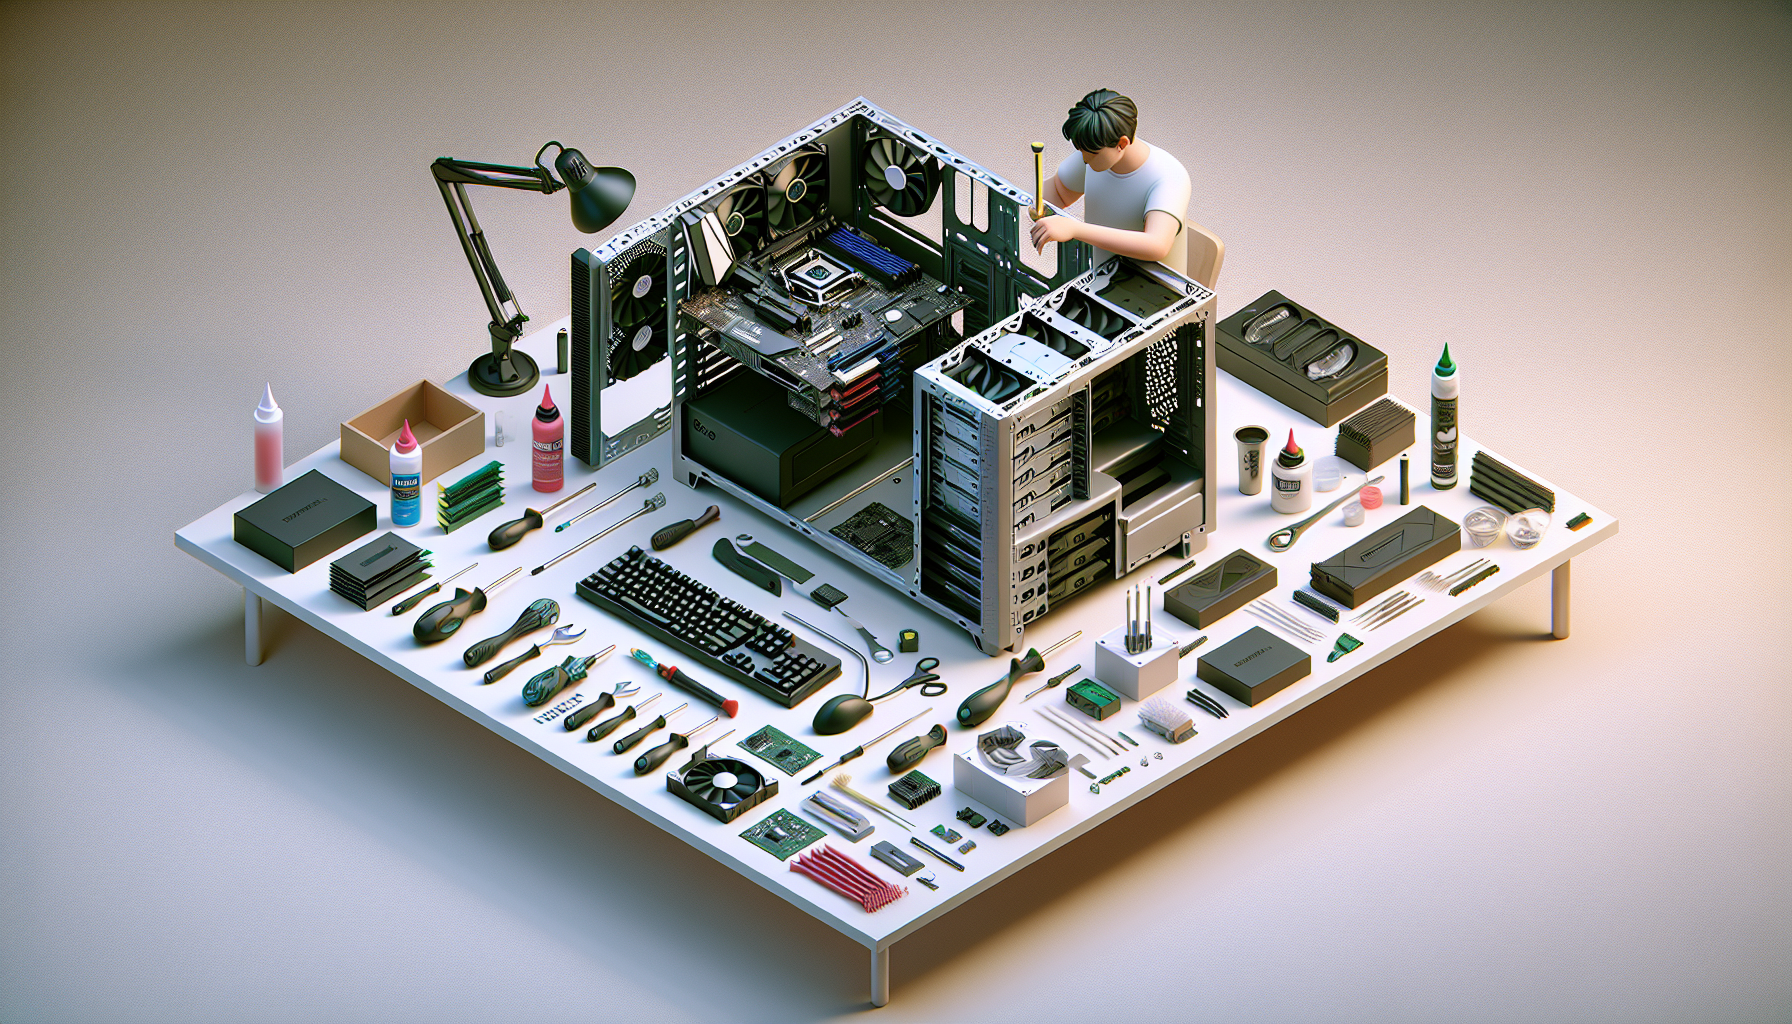
Introduction to Building a Gaming PC
Why Build Your Own Gaming PC?
Constructing your own gaming PC offers several compelling advantages. One of the primary reasons people choose to build their own gaming rig is the level of customisation it allows. Unlike prebuilt systems, a custom-built gaming PC lets you select each component based on your specific needs and preferences. Whether you prioritise raw power, aesthetic appeal, or budget constraints, building your own setup gives you complete control.
Another significant advantage is cost-effectiveness. By selecting and purchasing individual components, you have the opportunity to find the best deals and avoid the markup often associated with prebuilt systems. This can result in a more powerful gaming machine at a lower overall cost.
Additionally, building your own PC provides a valuable learning experience. Understanding how each component works and how they fit together can deepen your knowledge of computer hardware, making future upgrades and troubleshooting more manageable. For those interested in the technical aspects, this hands-on experience can be incredibly rewarding.
Benefits of Custom-Built Gaming PCs
Custom-built gaming PCs offer unique benefits that cater to both casual gamers and hardcore enthusiasts. One of the most significant benefits is performance optimisation. By carefully selecting high-quality components, you can build a system that meets or exceeds the performance of many prebuilt options. This is particularly important for gamers who require smooth, high-frame-rate gameplay.
| Benefits | Description |
|---|---|
| Performance Optimisation | High-quality, handpicked components for superior performance. |
| Customisation | Tailored to individual needs and aesthetic preferences. |
| Cost-Effectiveness | Potentially lower overall cost by avoiding prebuilt system markups. |
| Learning Experience | Gain in-depth knowledge of computer hardware and assembly. |
Another advantage is future-proofing. When you build your own PC, you can choose components that are easily upgradable. This means you can keep your system up-to-date with the latest technology without needing to replace the entire setup. For example, you might start with a mid-range graphics card and upgrade to a top graphics card for gaming as your budget allows.
Custom PCs also allow for superior cooling solutions. Adequate cooling is crucial for maintaining performance and longevity of the components. By selecting high-quality fans, liquid coolers, or other gaming PC cooling solutions, you can ensure your system runs efficiently and quietly.
Lastly, custom-built PCs provide an unparalleled level of aesthetic customisation. From RGB lighting to sleek case designs, the visual appeal of your gaming setup can be tailored to your personal style. This can enhance your overall gaming experience, making your setup not just functional but also visually striking.
For more insights into whether a custom-built or prebuilt system is right for you, check out our article on prebuilt vs. custom gaming PCs.
Essential Components
Building your own gaming PC requires careful selection of components to ensure optimal performance and compatibility. Below are the essential parts you will need.
Central Processing Unit (CPU)
The CPU, often referred to as the brain of the computer, handles all the instructions from your software. The performance of your gaming PC heavily depends on the CPU's speed and core count. When selecting a CPU, consider factors such as clock speed, number of cores, and thermal design power (TDP).
| Feature | Description |
|---|---|
| Clock Speed | Measured in GHz, higher speeds generally lead to better performance |
| Core Count | More cores allow for better multitasking and handling of complex tasks |
| TDP | Indicates the power consumption and heat output |
Graphics Processing Unit (GPU)
The GPU is crucial for rendering images, videos, and animations. A high-performance GPU enhances the gaming experience by delivering better graphics and smoother gameplay. For detailed insights, visit our article on top graphics cards for gaming.
| Feature | Description |
|---|---|
| VRAM | More VRAM allows for smoother rendering of high-resolution textures |
| CUDA Cores | More cores generally improve performance in graphics tasks |
| Clock Speed | Higher speeds can lead to better rendering performance |
Motherboard
The motherboard connects all the components of your gaming PC. It determines the type of CPU, RAM, and other peripherals you can use. Key factors to consider include form factor, chipset, and expansion slots.
| Feature | Description |
|---|---|
| Form Factor | ATX, Micro-ATX, and Mini-ITX are common sizes |
| Chipset | Determines the compatibility with CPUs and other components |
| Expansion Slots | PCIe slots for GPUs, M.2 slots for SSDs, etc. |
Memory (RAM)
RAM is essential for the smooth operation of games and applications. It temporarily stores data that the CPU needs to access quickly. For gaming, a minimum of 16GB of RAM is recommended.
| Feature | Description |
|---|---|
| Capacity | 16GB is recommended for gaming, but 32GB offers better performance in demanding games |
| Speed | Measured in MHz, higher speeds can improve performance |
| Type | DDR4 is the current standard, with DDR5 emerging |
Storage Solutions (HDD, SSD)
Storage is where all your data is kept. HDDs offer larger storage capacities at lower prices, while SSDs provide faster data access speeds. For optimal performance, a combination of both is often recommended.
| Type | Capacity | Speed |
|---|---|---|
| HDD | 1TB - 4TB | Slower, suitable for bulk storage |
| SSD | 256GB - 2TB | Faster, ideal for OS and frequently used applications |
Power Supply Unit (PSU)
The PSU supplies power to all components. It's important to choose a PSU with sufficient wattage to support your build. Look for a PSU with an 80 PLUS certification for better efficiency.
| Feature | Description |
|---|---|
| Wattage | Ensure it meets the power requirements of all components |
| Efficiency | 80 PLUS certification tiers: Bronze, Silver, Gold, Platinum, Titanium |
| Modular | Fully modular PSUs allow for better cable management |
Case and Cooling Systems
The case houses all your components and affects airflow and cooling. Proper cooling is essential to maintain performance and prolong the lifespan of your components. For more information on cooling solutions, read our article on gaming pc cooling solutions.
| Feature | Description |
|---|---|
| Form Factor | Ensure compatibility with your motherboard and other components |
| Cooling | Options include air cooling, liquid cooling, and hybrid systems |
| Airflow | Good airflow is crucial for maintaining optimal temperatures |
By understanding these essential components, you can make informed decisions and build a gaming PC that meets your needs and budget. For further guidance, explore our articles on budget gaming pcs and high-end gaming pcs.
Planning Your Build
When embarking on the journey of building your own gaming PC, planning is a crucial step. This section will guide you through the essential considerations to ensure your build meets your gaming needs and stays within your budget.
Setting a Budget
Setting a budget is the first step in planning your gaming PC build. Your budget will determine the quality and performance of the components you can afford. It's important to allocate your funds wisely across all essential parts, such as the CPU, GPU, and other components.
| Component | Budget Range (AUD) |
|---|---|
| CPU | $200 - $600 |
| GPU | $300 - $1,200 |
| Motherboard | $150 - $400 |
| RAM | $100 - $300 |
| Storage (HDD/SSD) | $50 - $200 |
| PSU | $100 - $200 |
| Case | $50 - $200 |
| Cooling System | $50 - $150 |
For those on a tight budget, consider looking into budget gaming pcs. If you have more to spend, you might explore options within high-end gaming pcs.
Defining Your Gaming Needs
Understanding your gaming needs is essential to ensure your PC build can handle the games you intend to play. Different games have varying hardware requirements, and knowing these will help you choose the right components.
Types of Games
- Casual Games: Minimal hardware requirements.
- AAA Titles: Require powerful CPUs and GPUs.
- VR Games: High-end components needed for smooth performance.
Consider whether you need a VR-ready gaming PC or if you are more interested in standard gaming. Also, think about other peripherals like the best gaming monitors and best gaming keyboards that will complement your setup.
Compatibility Considerations
Ensuring compatibility among all your chosen components is vital for a successful build. Incompatible parts can lead to performance issues or even prevent your PC from functioning.
Key Compatibility Factors
- CPU and Motherboard: Ensure the motherboard socket matches the CPU.
- RAM Compatibility: Check the motherboard's supported RAM type and speed.
- Power Supply Unit (PSU): Ensure the PSU provides sufficient wattage for all components.
- Case Size: Verify that the case can accommodate the motherboard, GPU, and cooling system.
- Storage Interfaces: Confirm the motherboard supports your chosen storage solutions (HDD/SSD).
For more detailed guidance on choosing compatible components, visit our article on prebuilt vs. custom gaming pcs.
By carefully planning your budget, defining your gaming needs, and ensuring compatibility, you can set a strong foundation for building your own gaming PC. Whether you're aiming for a high-performance rig or a more modest setup, thoughtful planning is key to unlocking your gaming potential.
Step-by-Step Assembly
Building your own gaming PC can be both rewarding and educational. Follow these steps to ensure a smooth assembly process.
Preparing Your Workspace
Before starting, ensure you have a clean, well-lit workspace. Gather all your components and tools, including a screwdriver, thermal paste, and an anti-static wrist strap. Clear any clutter to avoid misplacing small parts.
Installing the CPU and Cooling System
- Place the Motherboard: Lay the motherboard on a non-conductive surface.
- Insert the CPU: Open the CPU socket lever, align the CPU's notches with the socket, and gently place it in. Close the lever to secure the CPU.
- Apply Thermal Paste: Apply a small amount of thermal paste on the CPU surface.
- Attach the Cooler: Secure the cooling system onto the CPU, ensuring it is firmly attached.
Mounting the Motherboard
- Install Standoffs: Screw standoffs into the case to support the motherboard.
- Align the Motherboard: Align the motherboard with the standoffs and the I/O shield at the back of the case.
- Screw in the Motherboard: Secure the motherboard to the standoffs with screws.
Connecting the Power Supply
- Mount the PSU: Place the Power Supply Unit (PSU) in its designated spot within the case.
- Connect Power Cables: Attach the 24-pin ATX power cable to the motherboard and the 8-pin CPU power cable to the CPU power socket.
Installing RAM and Storage
- Insert the RAM: Open the RAM slots on the motherboard, align the RAM sticks, and press them in until they click.
- Install Storage:
- HDD: Place the Hard Disk Drive (HDD) in the drive bay and secure it with screws.
- SSD: For a Solid State Drive (SSD), either mount it in a drive bay or attach it to a dedicated slot on the motherboard.
Adding the GPU
- Open the PCIe Slot: Remove the backplate from the case that aligns with the PCIe slot on the motherboard.
- Insert the GPU: Align the Graphics Processing Unit (GPU) with the PCIe slot and press it in until it clicks.
- Secure the GPU: Screw the GPU bracket to the case to ensure it is firmly in place.
Final Connections and Cable Management
- Connect Remaining Cables: Attach any remaining power cables to the GPU, storage devices, and other peripherals.
- Front Panel Connections: Connect the case's front panel cables (power switch, reset switch, USB ports) to the corresponding headers on the motherboard.
- Cable Management: Use cable ties to neatly organise all cables, ensuring they do not obstruct airflow.
By following these steps, you can successfully assemble a gaming PC that meets your specific needs. For more information on optimising your build, visit our articles on gaming pc cooling solutions and overclocking guide for gaming pcs.
Initial Setup and Testing
Once the hardware assembly of your gaming PC is complete, the next crucial phase involves setting up and testing your system. This includes powering on for the first time, configuring the BIOS, installing the operating system, and ensuring all drivers are up-to-date.
Powering On for the First Time
Before powering on your gaming PC, double-check all connections. Ensure the power supply unit (PSU) is connected to the motherboard, GPU, and other components. Once confirmed, plug the PSU into an electrical outlet and switch it on. Press the power button on your case. If everything is correctly connected, the system should power on and you should see the BIOS splash screen on your monitor.
BIOS Configuration
The Basic Input/Output System (BIOS) is the firmware that initializes and tests your hardware during the boot process. Access the BIOS by pressing the designated key (usually F2, Del, or Esc) during the initial boot-up. Within the BIOS, you can configure system settings such as boot order, memory timings, and CPU settings.
Key BIOS settings to configure:
- Boot Order: Ensure the storage device with the operating system is the first boot device.
- Memory Timings: Set the correct timings for your RAM.
- CPU Settings: Enable or adjust CPU features if necessary.
Installing the Operating System
After configuring the BIOS, the next step is to install the operating system (OS). Most gamers prefer Windows due to its compatibility with a wide range of games and applications.
- Create a Bootable USB Drive: Download the OS installation files and create a bootable USB drive.
- Insert the USB Drive: Plug the USB drive into an available port on your PC.
- Boot from USB: Restart the PC and boot from the USB drive by selecting it from the boot menu.
- Follow Installation Prompts: Follow the on-screen instructions to install the OS on your chosen storage device.
Driver Installation and Updates
Once the OS is installed, the next step is to install necessary drivers to ensure all hardware components function correctly. Drivers are software that allows the operating system to communicate with hardware components.
- Motherboard Drivers: Install drivers for the motherboard, including chipset, LAN, and audio drivers.
- GPU Drivers: Install the latest drivers for your graphics card to ensure optimal performance in games.
- Peripheral Drivers: Install drivers for any peripherals such as gaming keyboards, mice, and sound systems.
| Component | Driver Source |
|---|---|
| Motherboard | Manufacturer's Website |
| GPU | Manufacturer's Website |
| Peripherals | Manufacturer's Website |
Regularly check for driver updates to maintain system performance and compatibility with new games and software. For more information on optimising your gaming setup, explore our article on gaming pc maintenance tips.
Setting up and testing your custom-built gaming PC ensures it runs smoothly and efficiently, providing an optimal gaming experience. For additional insights into enhancing your gaming setup, visit our guide on best gaming monitors and best gaming chairs.
Optimising Performance
Building your own gaming PC is just the start. Optimising its performance ensures you get the best possible gaming experience. This section covers the basics of overclocking, managing heat and noise, and using software tools for performance monitoring.
Overclocking Basics
Overclocking involves increasing the clock speed of your CPU and GPU beyond their factory settings to boost performance. This can result in smoother gameplay and higher frame rates, but it also comes with risks such as increased heat and potential hardware damage.
Key Points for Overclocking:
- Understand Your Hardware: Not all CPUs and GPUs are designed for overclocking. Check your components' specifications and capabilities.
- Gradual Increases: Start with small increments in clock speed and test stability before making further adjustments.
- Monitor Temperatures: Use software to monitor temperatures and ensure they stay within safe limits. Overheating can damage components.
- Voltage Adjustments: Increasing voltage can stabilise an overclock but also raises temperatures. Proceed with caution.
For a detailed guide, visit our overclocking guide for gaming pcs.
Managing Heat and Noise
Effective heat and noise management is crucial when overclocking or during long gaming sessions. Proper cooling solutions and noise reduction techniques can maintain optimal performance and extend the lifespan of your components.
Cooling Techniques:
- Air Cooling: Utilises fans to circulate air and remove heat. Ensure adequate airflow within the case.
- Liquid Cooling: More efficient than air cooling, it involves circulating a liquid coolant through a loop to dissipate heat.
- Thermal Paste: Apply high-quality thermal paste between the CPU/GPU and their coolers to improve heat transfer.
Noise Reduction Tips:
- Quality Fans: Invest in high-quality, low-noise fans.
- Fan Speed Control: Use software or BIOS to adjust fan speeds to balance cooling and noise.
- Sound Dampening: Adding sound dampening materials inside the case can reduce noise.
For more on cooling solutions, read our article on gaming pc cooling solutions.
Software Tools for Performance Monitoring
Using software tools helps in tracking your PC's performance, ensuring it runs smoothly and efficiently. These tools provide real-time data on various aspects of your system, allowing you to make informed adjustments.
Recommended Monitoring Tools:
- HWMonitor: Monitors temperatures, voltages, and fan speeds.
- CPU-Z: Provides detailed information about your CPU, including clock speeds and voltages.
- MSI Afterburner: Allows GPU overclocking and real-time monitoring of temperatures and usage.
- CrystalDiskInfo: Monitors the health and performance of your storage drives.
| Tool Name | Primary Function |
|---|---|
| HWMonitor | Temperature and voltage monitoring |
| CPU-Z | CPU information and clock speeds |
| MSI Afterburner | GPU overclocking and monitoring |
| CrystalDiskInfo | Storage health monitoring |
Using these tools, you can maintain your gaming PC in top condition, ensuring it performs at its best. For more tips on maintaining your gaming setup, visit our article on gaming pc maintenance tips.
Troubleshooting Common Issues
Building your own gaming PC can be immensely rewarding, but it is not without its challenges. Issues may arise during or after the assembly process. This section will help you identify and resolve common hardware and software problems and provide resources for additional support.
Identifying Hardware Problems
Hardware issues can be tricky to diagnose, but systematic troubleshooting can help pinpoint the problem. Here are some common hardware issues and their potential solutions:
- PC Won't Power On:
- Check the power cable and switch.
- Ensure the power supply unit (PSU) is properly connected.
- Verify that the motherboard's power connectors are secure.
- No Display on Monitor:
- Confirm that the monitor is connected and powered on.
- Check the graphics card connection.
- Ensure the RAM modules are seated correctly.
- Overheating:
- Inspect the cooling system and ensure all fans are working.
- Reapply thermal paste to the CPU if necessary.
- Make sure the case has adequate ventilation.
- Random Shutdowns or Reboots:
- Test the PSU to ensure it provides consistent power.
- Check for overheating issues.
- Inspect the RAM for any defects.
- Peripheral Issues:
- Ensure peripherals are properly connected.
- Update drivers for keyboards, mice, and other devices.
Common Software Issues
Software problems can also affect the performance of your gaming PC. Here are some frequent software issues and how to address them:
- Operating System Failures:
- Reinstall or repair the operating system.
- Check for software updates.
- Driver Issues:
- Update all drivers, especially for the GPU and motherboard.
- Reinstall drivers if necessary.
- Game Crashes or Performance Drops:
- Verify that your hardware meets the game's requirements.
- Check for game updates and patches.
- Adjust in-game settings for better performance.
- Virus or Malware:
- Run a full system scan using antivirus software.
- Remove any detected threats.
Resources for Additional Help and Support
If you encounter issues that are difficult to resolve, various resources are available for additional support:
Online Forums and Communities:
Engage with fellow gamers and PC builders in forums such as Reddit, Tom's Hardware, and Linus Tech Tips.
Manufacturer Support:
Visit the official websites of your hardware components for troubleshooting guides and customer support.
Instructional Videos and Tutorials:
Platforms like YouTube offer video tutorials on building and troubleshooting gaming PCs.
Articles and Guides:
Explore our resources for more detailed guidance:
Having these resources at your fingertips can make the troubleshooting process more manageable and help you get the most out of building your own gaming PC.


