


Smooth Gaming Transition: Your Complete SSD to M.2 Migration Guide
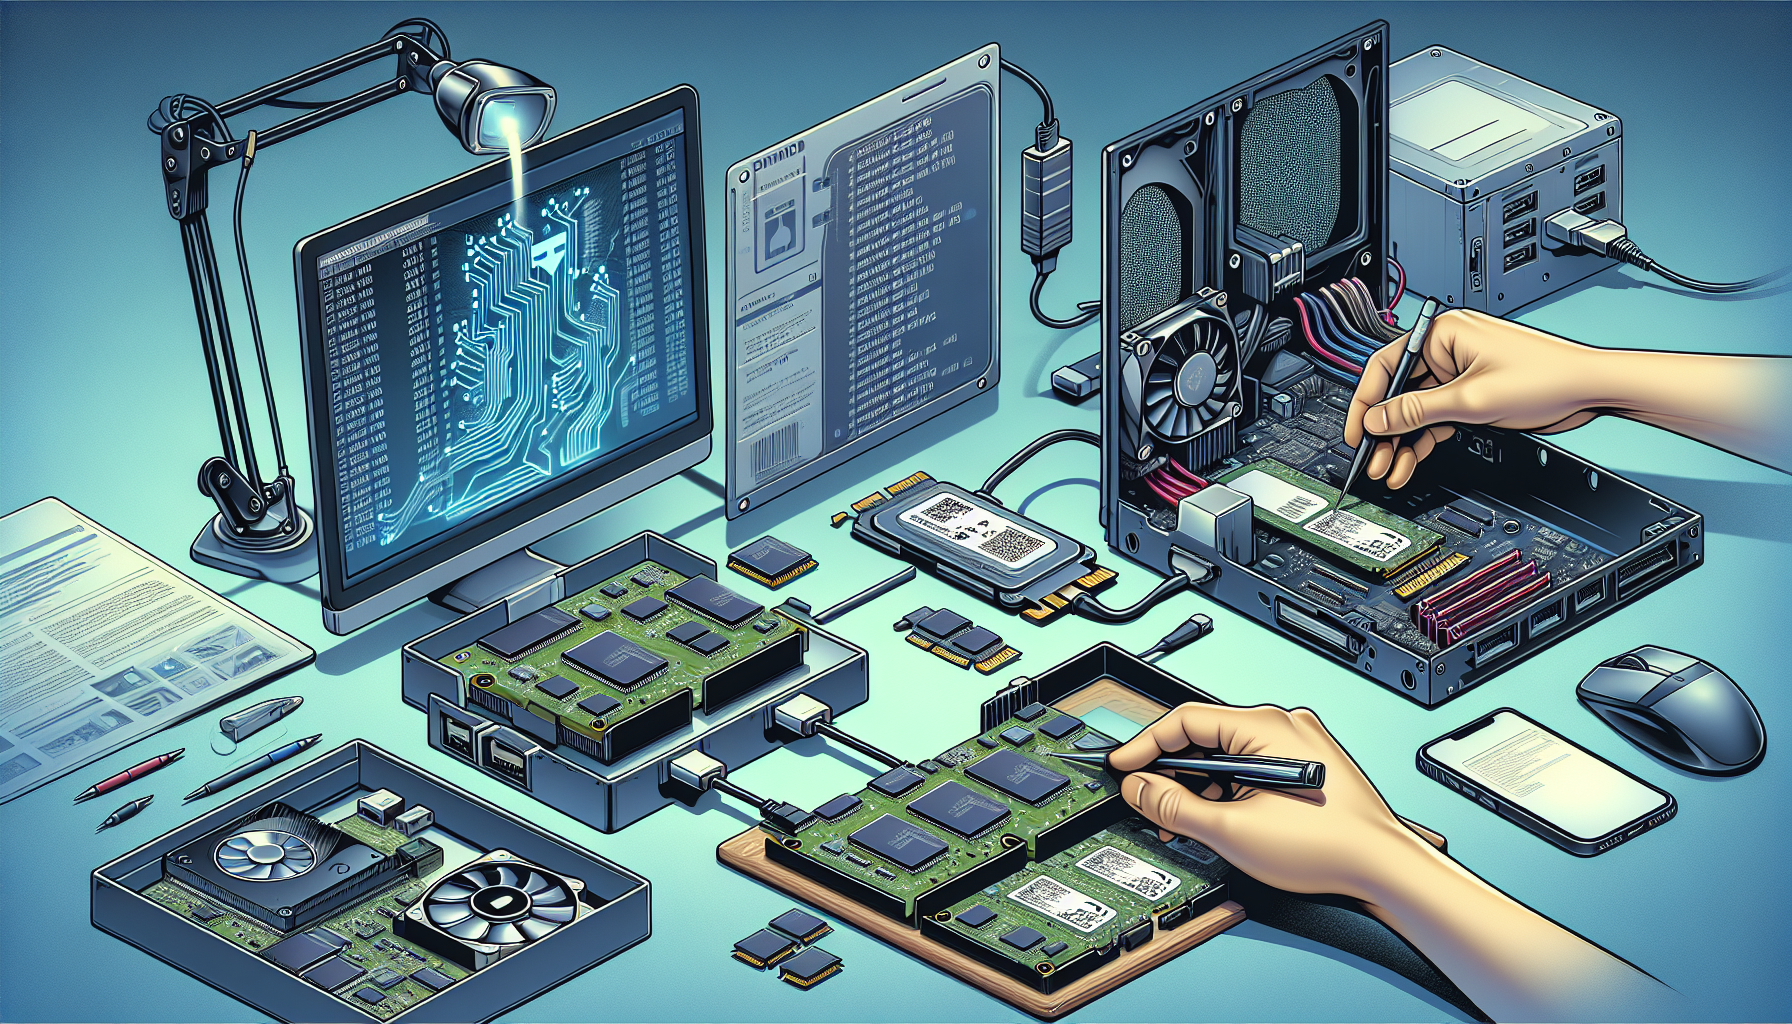
Migrating SSD to M.2
Migrating from an SSD to an M.2 drive can significantly enhance a gaming setup, providing faster load times and improved performance. Understanding the migration process and selecting the right cloning software are crucial for a seamless transition.
Understanding the Migration Process
To migrate an SSD to an M.2 drive, one must clone the existing SSD to the new M.2 drive. This cloning process involves transferring all data, including the operating system, applications, and files, to ensure a smooth transition to the M.2 format (Asana).
The typical steps included in the migration process are:
- Backing Up Data: Always back up important data to prevent loss during the migration process.
- Downloading Cloning Software: Obtain reliable cloning software, such as Acronis True Image or the software provided by your SSD manufacturer, like Crucial.
- Installing Cloning Software: Follow the installation instructions for the chosen software.
- Selecting Drives: In the software, specify the source drive (your current SSD) and destination drive (the new M.2 SSD).
- Cloning Process: Begin the cloning operation. This may take some time depending on the size of the data being transferred.
- Changing Boot Drive: After cloning, access system settings to set the new M.2 SSD as the primary boot drive (Crucial).
Cloning Software Installation
Choosing the right cloning software is vital for a successful migration. Cloning software simplifies the task of copying partitions and files to your new M.2 drive. Popular options include:
| Software | Features | Best For |
|---|---|---|
| Acronis True Image | User-friendly interface, secure cloning operations | Versatile cloning needs |
| Crucial Cloning Tool | Compatible with Crucial SSDs, easy to use | Crucial SSD users |
| Macrium Reflect | Advanced features for expert users | Detailed cloning requirements |
The installation steps for most cloning software typically involve:
- Download the Installer: Visit the official website to download the installer.
- Run the Installer: Follow prompts to complete the installation process.
- Launch the Software: Open the application and access the data cloning functionalities.
By utilising effective cloning software, users can ensure a smooth data migration that enhances system performance and simplifies the transition to M.2 SSDs. For additional details on performing successful cloning, refer to our guide on how to clone m.2 ssd with only one slot.
Data Transfer Time
When migrating data from an SSD to an M.2 drive, understanding the time involved is crucial for efficient planning, especially for gamers looking to quickly upgrade their systems. The duration of the data transfer can vary significantly based on the size of the data being moved.
Timelines for Different Data Sizes
The following table outlines estimated timeframes for copying data from an existing SSD to a new M.2 SSD based on different data sizes:
| Data Size | Estimated Transfer Time |
|---|---|
| Less than 256GB | 20-30 minutes |
| 256GB - 512GB | 30-60 minutes |
| 512GB - 1TB | 60-90 minutes |
| More than 1TB | 90+ minutes |
These time estimates can vary due to the speed of the drives and the cloning method used. It is advisable for gamers to plan accordingly, allowing sufficient time during upgrades (Crucial).
Optimizing Motherboard Configuration
To achieve the best data transfer speeds during the migration process, optimizing motherboard configuration is essential. Here are some key adjustments that can enhance performance:
- BIOS Settings: Ensure that the BIOS is updated to the latest version. Enabling RAID (if applicable) can improve data management and transfer speeds.
- Drive Mode: Set the SATA mode to AHCI rather than IDE in the BIOS settings to enhance SSD performance.
- NVMe Settings: For NVMe drives, check the BIOS for options that optimize PCIe lanes and prioritise the M.2 slot to ensure maximum throughput.
- Cooling Solutions: Ensure adequate cooling, as excessive heat can throttle SSD performance during data transfer, especially with high-performance NVMe drives.
- Avoid Background Applications: Close unnecessary applications during the transfer process to allocate more system resources to the transfer and improve speed.
By implementing these configuration tweaks, users can maximise the performance of their SSDs and achieve faster data transfer rates, contributing to a seamless upgrade experience. For more detailed guidance on installations and setups, refer to how to install m.2 ssd.
Disk Imaging vs. Disk Cloning
Both disk imaging and disk cloning are two methods gamers can use during their migration process from SSD to M.2. Each offers distinct advantages depending on the user's needs and data management preferences.
Granular Data Restoration
Disk imaging involves creating a byte-by-byte archive of a hard drive. This process results in a compressed file format, typically saved as an ISO file. One of the primary advantages of disk imaging is its capability for granular data restoration. Users can retrieve specific files or folders without needing to restore the entire system. However, this method can be time-consuming during the restoration process and often consumes significant backup storage space (Arcserve).
| Aspect | Disk Imaging |
|---|---|
| Type of Backup | Compressed archive (ISO format) |
| Restoration Type | Granular (specific files or folders) |
| Time for Restoration | Typically slower |
| Storage Requirements | Requires more storage space |
Rapid Recovery through Cloning
In comparison, disk cloning entails creating an exact, uncompressed replica of an entire drive or specific partitions. This method excels in rapid recovery scenarios, as a cloned drive can be quickly replaced in the event of a hard drive failure, drastically minimizing downtime (Arcserve).
| Aspect | Disk Cloning |
|---|---|
| Type of Backup | Exact replica (uncompressed) |
| Restoration Type | Full drive or partition restoration |
| Time for Restoration | Typically faster |
| Storage Requirements | Requires less storage space compared to imaging |
For gamers looking to ensure minimal delays during gameplay, understanding the differences between these two methods is critical in deciding which technique to employ while migrating their SSD to M.2. For further insights on the migration process, consider exploring how to install m.2 ssd or other SSD-related topics.
Choosing the Right Cloning Software
Selecting the appropriate cloning software is essential when learning how to migrate SSD to M.2. The right tool can ease the migration process, ensuring data integrity and efficiency.
Benefits of Acronis True Image
Acronis True Image is a popular choice among users due to its user-friendly interface and comprehensive features. This cloning software simplifies the task of migrating operating system files to a new SSD or hard drive. Key advantages include:
- Streamlined Process: Acronis True Image streamlines the cloning journey, which can reduce the time and effort needed for successful data transfer.
- Secure Operations: The software offers reliable cloning operations that help safeguard data against loss or corruption. This feature is crucial when migrating sensitive information.
- Versatility: It is suitable for both IT professionals and home users, making it accessible for various skill levels (Acronis).
Avoiding Risks in Disk Cloning
Disk cloning comes with inherent risks that users must address to ensure a smooth transition. Potential challenges include data loss, corruption, security breaches, and downtime during the operation Acronis. To mitigate these risks:
- Choose Reliable Software: Opt for trusted cloning software like Acronis True Image to minimise the chances of errors.
- Backup Important Data: Always create backups of critical files before beginning the migration process. This precaution safeguards against data loss.
- Monitor the Migration Process: Keep a close eye on the cloning operation to ensure everything runs smoothly and to address any issues immediately.
By using the right software and following these precautions, users can effectively manage disk cloning, ensuring a seamless switch to M.2 SSDs. For further guidance on usage, check our articles on how to clone m.2 ssd with only one slot and how to format m.2 ssd.
SATA vs. NVMe M.2 SSDs
When considering how to migrate SSD to M.2, it's crucial to understand the differences between SATA and NVMe M.2 SSDs, particularly in terms of performance and compatibility. Gamers in Australia looking for optimal gaming performance should pay close attention to these distinctions.
Performance Differences
The primary difference between SATA and NVMe M.2 SSDs lies in their data transfer rates. SATA M.2 SSDs utilise the SATA interface, which has a maximum data transfer rate of 6 Gbps. This translates to slower performance when compared to NVMe M.2 SSDs, which leverage the NVMe protocol specifically designed for SSDs. NVMe SSDs, when paired with the PCIe bus, can achieve theoretical transfer speeds of up to 20 Gbps. Modern NVMe drives can reach speeds upwards of 3,500 MB/s, which significantly surpasses SATA SSD performance.
| Type | Maximum Data Transfer Rate | Typical Speed |
|---|---|---|
| SATA M.2 SSD | 6 Gbps | Up to 600 MB/s |
| NVMe M.2 SSD | 20 Gbps | Up to 3,500 MB/s |
For gamers seeking speed and efficiency, NVMe M.2 SSDs are typically the better option for enhanced gaming experiences.
Form Factor and Compatibility
Both SATA and NVMe M.2 SSDs share a similar form factor, which is a key advantage for users looking to upgrade their systems. However, compatibility is essential to ensure that the correct SSD type is selected for the computer's motherboard. While most motherboards come with M.2 slots that support both types, it is crucial to verify the specifications of the motherboard before purchase.
- SATA M.2 SSD Compatibility: SATA SSDs are generally more compatible with older systems due to their longer presence in the market, featuring a higher available volume in various configurations.
- NVMe M.2 SSD Compatibility: NVMe drives typically require more recent motherboards that support the PCIe interface. It is recommended to consult the motherboard's documentation or manufacturer’s website to confirm compatibility.
For further guidance on M.2 installation, check out our article on how to install m.2 ssd. Understanding the differences in performance and compatibility can help gamers make an informed decision when migrating their SSD to M.2.
NVMe M.2 Drives
NVMe Technology Explained
NVMe, or Non-Volatile Memory Express, is a storage protocol specifically designed for SSDs that facilitates high-speed communication between a computer's CPU and SSDs. Unlike traditional SATA connections, which limit data transfer speeds, NVMe takes advantage of the PCIe bus, allowing for significantly faster performance. Modern NVMe M.2 drives can achieve sustained read and write speeds of up to 3,500MB/s, a substantial improvement over SATA SSDs that max out at 600MB/s (Backblaze).
The architecture of NVMe is optimised for super-fast data transfers, making these drives ideal for applications that require high-performance storage. This includes gaming, high-resolution video editing, enterprise databases, and various data-intensive tasks. As such, NVMe M.2 drives are increasingly popular among gamers and professionals who demand quick access to data and faster loading times.
Key Features and Advantages
The advantages of NVMe M.2 drives are numerous, particularly for gamers looking to enhance their PC performance. Here are some key features:
| Feature | Description |
|---|---|
| Speed | NVMe drives offer read/write speeds of up to 3,500MB/s, allowing for faster game loads and file transfers. (Kingston) |
| Efficiency | NVMe technology allows for better power efficiency, leading to longer battery life in laptops and less heat generation. |
| Form Factor | M.2 drives are compact, making them suitable for smaller cases and modern gaming setups. They can easily fit in most motherboards with an M.2 slot. (Backblaze) |
| Data Handling | NVMe handles multiple queues for data transfers, improving multitasking capabilities and performance during high-load situations. |
For anyone considering an upgrade, NVMe M.2 drives present the best option for maximising gaming performance, providing superior speed and efficiency compared to SATA drives. To learn more about the migration process and how to incorporate these drives into your system, check out our guide on how to migrate SSD to M.2.


