


M.2 SSD Upgrade Mastery: Windows Reinstall-Free Transformation
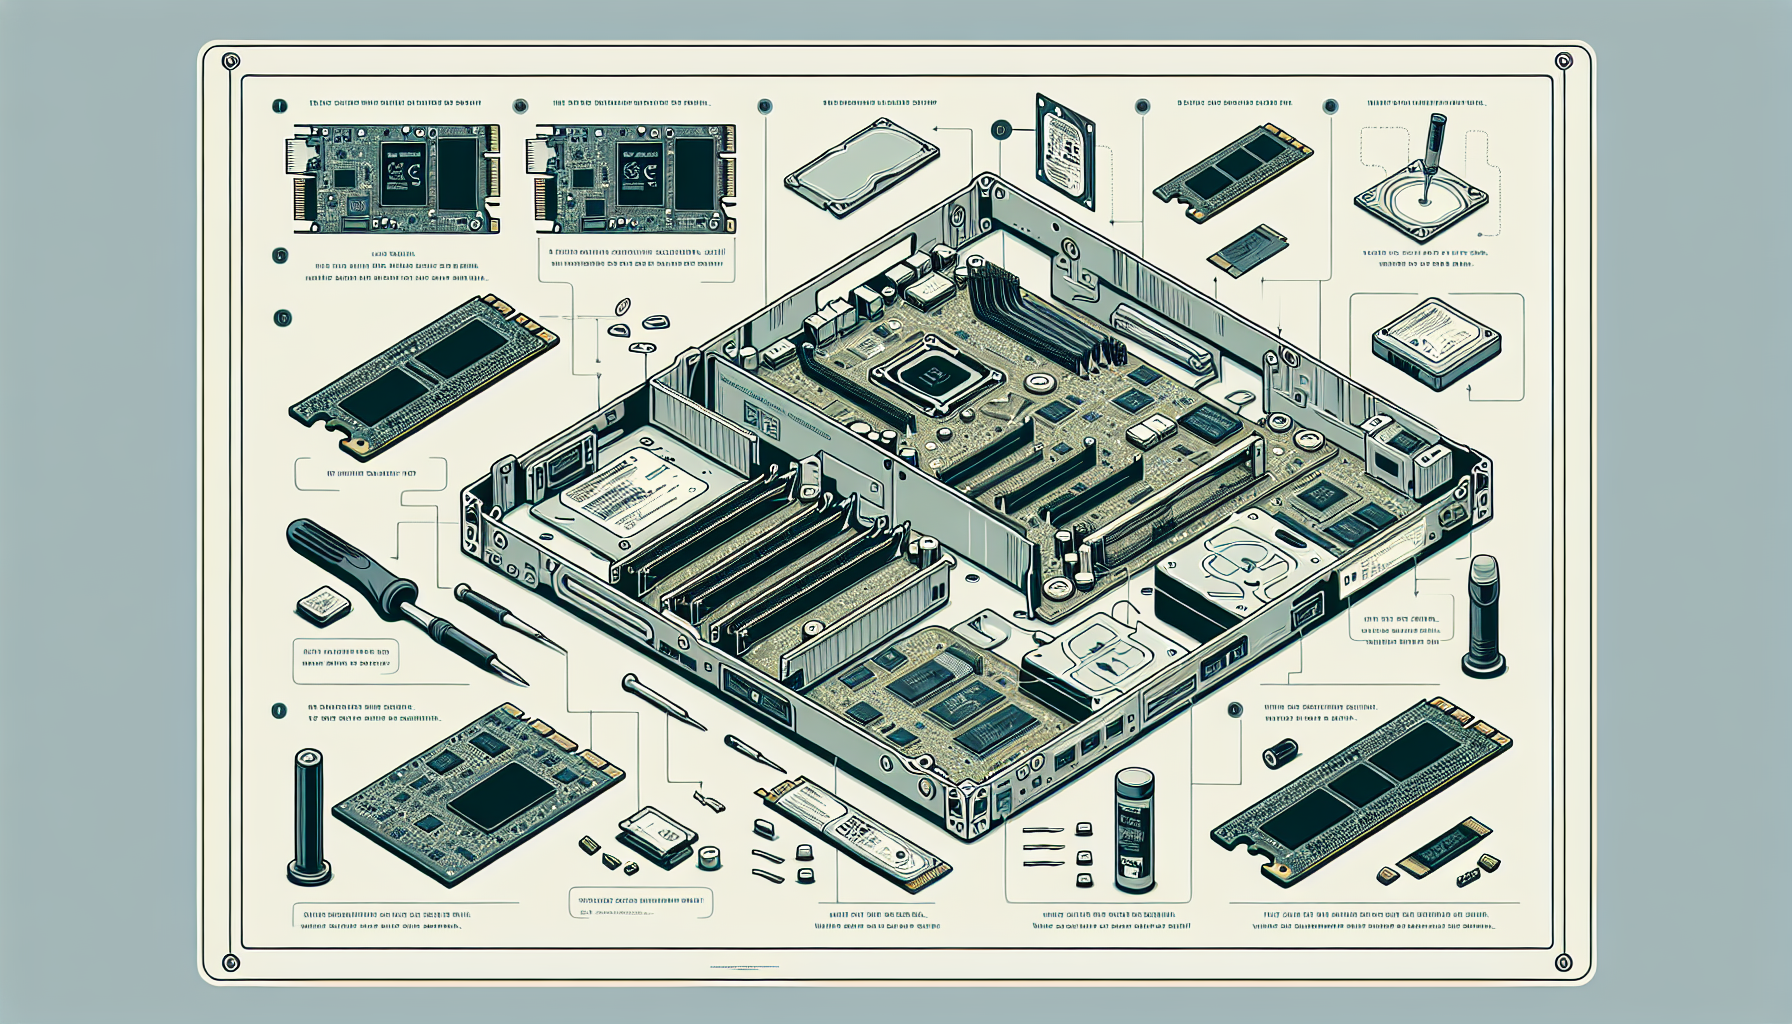
Upgrading to an SSD
Benefits of SSD Upgrades
Upgrading to a Solid State Drive (SSD) offers numerous advantages over traditional Hard Disk Drives (HDDs). Notably, SSDs can deliver speeds that are up to 10 times faster than HDDs. This substantial increase in speed results in improved performance across various functions, including booting up the operating system, loading applications, and transferring files. Gamers can particularly benefit from faster load times and smoother gameplay, which enhances their overall gaming experience (Backblaze).
| Feature | HDD Performance | SSD Performance | Improvement |
|---|---|---|---|
| Boot Time | 30-40 seconds | 10-15 seconds | Up to 75% faster |
| Application Launch Time | 15-30 seconds | 1-2 seconds | Up to 95% faster |
| File Transfer Speed | 30-150 MB/s | 200-5000 MB/s | Up to 90% faster |
Compatibility with PCs and Macs
SSDs are widely compatible with both PCs and Macs. Most computers that use a standard SATA hard drive can be easily upgraded to an SSD. Additionally, many modern PCs incorporate the M.2 interface, which allows for further reductions in size and increases in speed as these drives resemble RAM chips more than traditional hard drives.
For Mac users, compatibility will depend on the model. Some Apple laptops produced before 2016 that originally shipped with SSDs can also be upgraded to larger capacities. It's important to check the specifications of the existing hardware and consult compatibility resources before proceeding. For more details about specific M.2 SSD models, refer to what is an m.2 ssd.
Upgrading to an SSD not only improves system performance but also prolongs the lifespan of your computer by reducing the incidence of mechanical failures typical of HDDs.
Cloning Your System
Importance of Cloning
Cloning a system is the process of creating an exact replica of the internal hard drive's data. This can be particularly beneficial when upgrading to an M.2 SSD. By cloning the data, users can ensure that their new SSD maintains its bootable capabilities for a seamless plug-and-play experience (Backblaze).
Cloning is essential for those who want to avoid reinstalling Windows and transferring files manually. This method not only saves time but also guarantees that all settings, applications, and files are preserved exactly as they were on the original drive. This is especially valuable for gamers who rely on optimised settings and configurations for their gaming performance.
For individuals who often find themselves battling slow load times or experiencing a spinning wheel cursor, upgrading to an SSD can greatly improve system responsiveness. SSDs function more quietly, operate with greater efficiency, and have fewer moving parts than traditional hard drives.
Using Cloning Software
Selecting the right cloning software is vital for successfully transferring data to an M.2 SSD. There are several options available that facilitate this process efficiently.
| Cloning Software | Features |
|---|---|
| Acronis True Image | Offered by Western Digital, this software allows users to create a rescue media to assist in the upgrade process. It ensures the smooth transfer of data and system files. (Western Digital Support) |
| EaseUS Todo Backup | This software provides a straightforward method for cloning the system from an HDD to an SSD, enabling Windows installation movement without needing a new installation. It is user-friendly and effective for gamers wanting to upgrade their storage. (EaseUS) |
Using such cloning software can make the transition to an M.2 SSD smooth and hassle-free. For detailed instructions on cloning your M.2 SSD when only one slot is available, refer to our guide on how to clone m.2 ssd with only one slot.
Exploring options for SSD upgrades and understanding the cloning process prepares users for a successful commitment to enhanced gaming performance and system efficiency. For those needing further assistance, consider reading about how to install m.2 ssd.
Migrating Data
Migrating data to a new M.2 SSD is a crucial step in the upgrade process. This involves cloning the existing system onto the new SSD to maintain all programs, settings, and data without the need for reinstalling Windows. Here’s an overview of the cloning process and the necessary tools for a successful data migration.
Cloning Process Overview
The cloning process replicates the data from the old hard drive to the new M.2 SSD. By using cloning software, users can create an exact copy of their internal hard drive’s data. After the cloning has been completed, the new SSD can be inserted into the computer with its bootable capabilities intact. This ensures a plug-and-play experience without any additional installation (Backblaze).
It may be necessary to change the boot order in the BIOS for non-UEFI computers to ensure that the system boots from the new SSD after the cloning process. Should any issues arise, users might need to perform a new installation of the Windows Operating System on the SSD or utilise the Windows Recovery Disk for troubleshooting (Western Digital Support).
Acquiring the Necessary Tools
To perform a data migration effectively, certain tools are required. Here’s a list of essential tools:
| Tool | Purpose |
|---|---|
| Cloning Software | Creates an exact replica of data from the old drive to the new SSD. Software options include Acronis True Image, provided by Western Digital. |
| External Adapter or Enclosure | Allows connection of the new SSD for cloning when there is only one slot available (how to clone m.2 ssd with only one slot). |
| Windows Recovery Disk | A backup option for troubleshooting any issues that may arise during the cloning process. |
It is essential to note that SSD upgrades significantly improve the performance of a computer, particularly for users who frequently encounter issues like a spinning wheel cursor. SSDs operate quietly, efficiently, and have fewer breakable parts compared to traditional hard drives (Backblaze). By preparing with the right tools and following the cloning process, users can ensure a smooth transition to an M.2 SSD upgrade. For further guidance on SSD installation, refer to our article on how to install m.2 ssd.
Post-Cloning Procedures
After successfully cloning your system to the new M.2 SSD, there are important steps to follow to ensure everything functions correctly and you can enjoy the benefits of faster storage.
Initializing the New SSD
The first task is to initialise your new SSD. This process is essential to ensure that the partition style of the new drive matches that of the old hard drive, preventing potential boot issues. To initialise the SSD in Windows, follow these steps:
- Open Disk Management by right-clicking the Start button and selecting Disk Management.
- Locate your new SSD, which will usually appear as unallocated space.
- Right-click on the unallocated space and select New Simple Volume.
- Follow the onscreen prompts to set up the drive, ensuring that you select the appropriate file system (usually NTFS for Windows).
- Once initialised, you should assign a drive letter and format the SSD if necessary.
Therefore, initialising the SSD sets the foundation for a seamless migration experience without reinstalling Windows. For guidance on formatting, you may refer to our article on how to format M.2 SSD.
Replacing the Old Hard Drive
Once the new SSD is initialized, the next step is to physically replace the old hard drive. For desktops, this typically involves opening the case and removing the old HDD, while for laptops, you may need to follow a specific procedure outlined in the user manual. Here’s a brief overview of how to replace the hard drive:
- Power Off: Ensure the computer is completely powered off and unplugged from any electrical outlet.
- Remove the Old HDD: Unscrew and disconnect the old hard drive, being careful to note how it was installed for reference during reinstallation.
- Install the New SSD: Insert the new SSD into the designated slot, ensuring it clicks securely into place.
- Reconnect and Enclose: Replace any screws or panels that were previously removed and reconnect the power supply if applicable.
After the hard drive has been replaced, reboot the system. If cloning was performed correctly, the new SSD should boot up the operating system seamlessly, giving a significant speed boost to your system. For common queries such as monitoring SSD visibility in BIOS, check our article on why is my m.2 ssd not showing up in bios.
Following these post-cloning procedures ensures that your upgrade to an M.2 SSD is successful, allowing you to benefit from enhanced speed and performance without the hassle of a Windows reinstall.
Troubleshooting Tips
After upgrading to an M.2 SSD and cloning your system, issues may arise that prevent successful booting or recognition of the new drive. The following tips will help troubleshoot common problems.
BIOS Boot Order
To ensure that your new SSD is bootable, checking the BIOS boot order is crucial. For non-UEFI computers, it may be necessary to change the boot order to prioritise the new SSD after the cloning process. If the system fails to boot, adjusting this setting could resolve the issue.
| Step | Description |
|---|---|
| 1 | Restart the computer and enter the BIOS setup (usually by pressing F2, DEL, or ESC during boot). |
| 2 | Navigate to the Boot menu. |
| 3 | Change the boot order to position the new SSD as the first boot device. |
| 4 | Save settings and exit the BIOS. |
If errors still occur post-adjustment, a fresh installation of the Windows operating system on the new SSD might be necessary. Alternatively, you can use the Windows Recovery Disk to troubleshoot and recover the system (Western Digital Support).
Resolving Boot Issues
Boot issues might present themselves even after the boot order is set correctly. If the computer does not recognise the new SSD or displays boot errors, several steps can be taken:
- Verify Connections: Ensure that the SSD is securely connected to the motherboard.
- Check Drive Recognition in BIOS: Confirm that the new SSD is detected in the BIOS settings.
- Re-clone if Necessary: If issues stem from the cloning process, consider re-cloning the data using reliable software.
- Use Recovery Options: Employ the Windows Recovery Disk to initiate repair options. This could include startup repair or restoring a previous configuration.
Utilising the insights above, users can address common challenges encountered during the process of upgrading their storage system. For more guidance on each step, references are available such as how to format m.2 ssd and how to migrate ssd to m.2.
Tool Recommendations
When upgrading to an M.2 SSD, selecting the right cloning software is essential for a smooth transition without reinstalling Windows. Here are two highly recommended tools for this purpose: Seagate's DiscWizard and EaseUS Todo Backup.
Seagate's DiscWizard
Seagate's DiscWizard is a powerful tool specifically designed to assist users in migrating data effectively. To upgrade an M.2 NVMe SSD without reinstalling Windows, users can migrate all data from their old drive to the new SSD using this software (Seagate). The straightforward interface ensures that even those with minimal technical expertise can navigate the cloning process.
| Feature | Description |
|---|---|
| User-Friendly | Designed for users of all skill levels |
| Data Migration | Supports cloning from HDD/SSD to SSD |
| Additional Tools | Includes disk management utilities |
For more detailed guidance on the installation process, refer to the article how to install m.2 ssd.
EaseUS Todo Backup
EaseUS Todo Backup is another excellent choice for upgrading to an M.2 SSD. This tool allows users to clone their system efficiently. The process involves selecting the system clone option, choosing the destination disk, and proceeding with the cloning process (EaseUS). It is well-reviewed for its reliability and ease of use, making it a popular choice among gamers and tech enthusiasts.
| Feature | Description |
|---|---|
| Cloning Capability | Clones system from HDD to SSD effortlessly |
| Easy Navigation | Simple interface for all users |
| Backup Options | Provides additional backup solutions |
For further information on the cloning process, check out how to clone m.2 ssd with only one slot.
Utilising either Seagate's DiscWizard or EaseUS Todo Backup can significantly simplify the process of upgrading to an M.2 SSD without the hassle of reinstalling Windows.


