


Level Up Your Storage: Expert Tips on Installing M.2 SSD
The Basics of M.2 SSDs
Before diving into the installation process, it is essential to grasp some foundational knowledge about M.2 SSDs. This includes understanding compatibility and the necessary tools for a successful setup.
Understanding M.2 SSD Compatibility
Prior to purchasing an M.2 SSD, it is crucial to verify that the motherboard supports this format. Most recent motherboards do, as M.2 technology has become mainstream within the last five years. To check compatibility, consult the motherboard’s instruction manual or look up the specific model online.
An M.2 slot resembles a thin cable port and is designed to accommodate high-performance NVMe SSDs. However, not all consumer personal computers or laptops are equipped with an M.2 port, especially for SATA SSDs. Knowing the specifications can help avoid compatibility issues during installation.
| Compatibility Factor | Description |
|---|---|
| Motherboard Support | Check the motherboard manual or online for M.2 slot availability. |
| Interface Type | Ensure your motherboard supports NVMe if that is the SSD type you intend to use. |
| Size Format | M.2 SSDs come in various sizes; typical dimensions include M.2 2280, M.2 2230. |
Necessary Tools for Installation
Having the right tools is essential for a smooth and efficient installation of an M.2 SSD. The following items should be prepared:
- Screwdriver: A small Phillips screwdriver is typically needed to secure the SSD in place.
- M.2 SSD: Ensure the chosen SSD meets compatibility criteria with the motherboard.
- Anti-Static Wrist Strap (optional): This can help prevent damage to the components from static electricity.
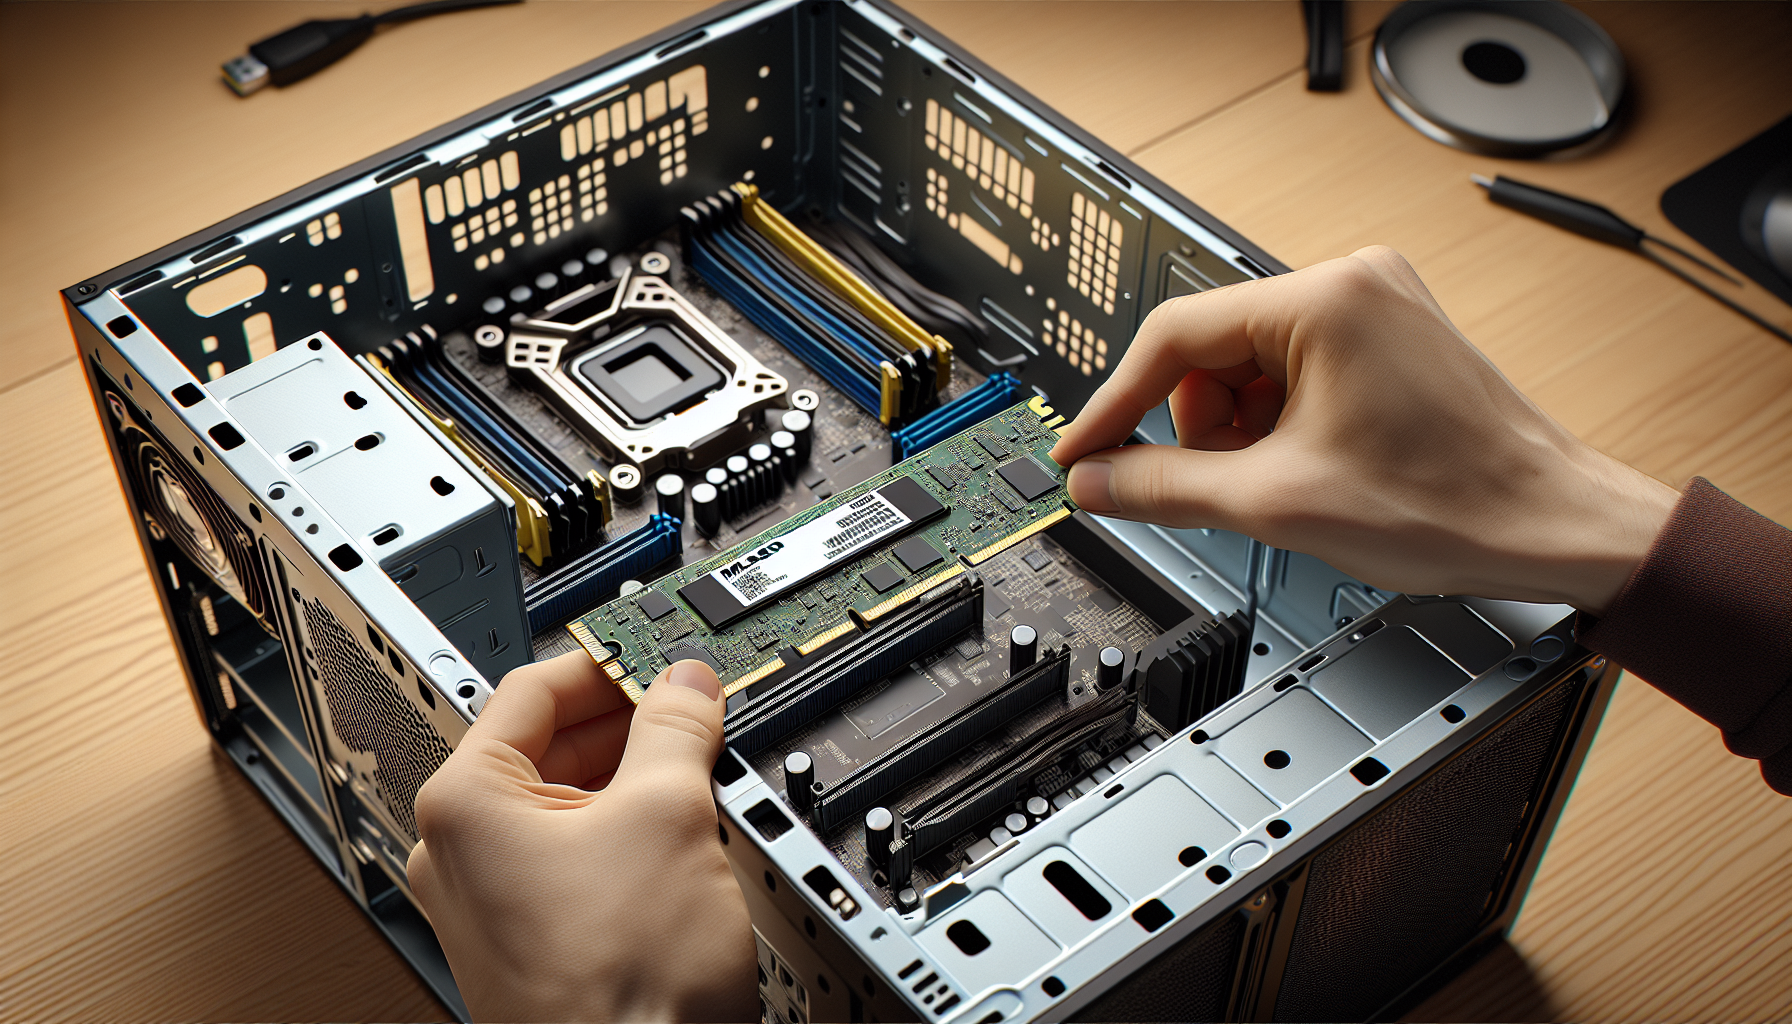
During the installation, the M.2 SSD is inserted diagonally into the slot and secured by a screw. Users should listen for a satisfying “click” when the SSD is properly in place.
These foundational steps are critical for anyone wanting to learn how to install m.2 ssd effectively. With a clearer understanding of compatibility and preparation, gamers can look forward to enhancing their systems' performance.
Preparing for Installation
Before diving into the installation of an M.2 SSD, it is essential to prepare adequately. This preparation involves reviewing the installation guide and ensuring compatibility with the motherboard.
Reviewing the Installation Guide
To successfully install an M.2 NVMe SSD, it is highly advisable to consult the installation guide that comes with the SSD. This guide provides critical details that can simplify the entire process. For instance, brands like Kingston offer comprehensive step-by-step instructions on how to install an M.2 SSD into both laptops and desktop PCs, making it beginner-friendly.
The guide typically includes:
- Necessary tools
- Installation steps
- Troubleshooting tips
Following these instructions carefully helps ensure a smooth installation process.
Checking Motherboard Support
One of the primary concerns before purchasing an M.2 SSD is verifying whether the motherboard supports it. Most modern computers are designed to accommodate both 2.5" SATA and M.2 slots for SSDs. To determine the compatibility, users should check the hardware user manual or the motherboard’s specifications.
Here are some key points to consider:
| Feature | Details |
|---|---|
| Supported SSD Types | M.2 NVMe SSD, M.2 SATA SSD |
| Common Slot Dimensions | 2242, 2260, 2280, 22110 |
| Number of Supported Slots | Typically 1-2 |
By verifying the motherboard's compatibility, gamers can avoid potential issues during installation. Further details on M.2 SSD specifications can be found in the article what is an m.2 ssd. Ensuring the right specifications saves time and enhances the overall gaming experience.
Physical Installation Process
Installing an M.2 SSD is a straightforward process that requires care and precision. The following subsections provide detailed steps for inserting the SSD and the considerations for using heatsinks.
Inserting the M.2 SSD
To install an M.2 SSD, the following steps should be followed:
- Preparation: Begin by removing the screw from the mounting point of the M.2 slot on your motherboard.
- Insertion: Insert the M.2 SSD diagonally into the slot. Ensure that the connector is aligned with the slot in the motherboard.
- Securing the SSD: Once the SSD is inserted, press it down firmly until it clicks into place. The SSD should sit flush with the motherboard. Replace the removed screw to secure the SSD in place; it should make a satisfying “click” once tightened.
| Step | Action |
|---|---|
| 1 | Remove the screw from the mounting point |
| 2 | Insert the SSD diagonally |
| 3 | Press down and replace the screw |
Consideration for Heatsinks
While some M.2 SSDs come with built-in heatsinks, others may not. It is important to consider the following regarding heatsinks:
- Necessity: Depending on the intended use of the SSD (such as heavy gaming), a heatsink may not be strictly necessary. However, for optimal performance and heat dissipation, it is advisable to use one, especially if the SSD lacks an inbuilt heatsink.
- Purchase Option: If you choose to add a heatsink, there are third-party heatsinks available for approximately $25 or less.
To add a heatsink:
- Positioning: After securing the M.2 SSD, place the heatsink over it.
- Securing the Heatsink: Press down firmly on the heatsink and secure it in place with the provided screws.
Adding a heatsink to a non-equipped M.2 SSD helps to maintain optimal thermal performance, further enhancing the reliability and longevity of the drive.
After the installation process, remember to format the SSD within Windows using built-in utilities or a Windows 10 installation USB. For more information on this step, see our guide on how to format m.2 ssd.
Post-Installation Steps
After successfully installing the M.2 SSD, there are a couple of essential steps to complete before the drive can be used effectively. This includes securing the drive in place and formatting it in Windows.
Securing the M.2 SSD in Place
To ensure that the M.2 SSD is securely installed, it needs to be inserted diagonally into the slot. Once properly positioned, the SSD should be pressed down and secured using the mounting screw provided with the motherboard. A tight fit is important; the SSD should make a satisfying “click” sound when it is secured correctly.
| Step | Description |
|---|---|
| 1 | Insert the M.2 SSD diagonally into the slot. |
| 2 | Press down gently while aligning with the screw hole. |
| 3 | Use a screwdriver to tighten the screw until secure. |
Formatting the New Drive in Windows
Once the M.2 SSD is physically secured, the next crucial step is to format the new drive in Windows to make it operational. This can be done through built-in Windows utilities. The following methods can be used for formatting:
- Disk Management Tool:
- Open the Disk Management tool by right-clicking on the Start menu and selecting "Disk Management."
- Locate the new M.2 SSD, which will be marked as unallocated space.
- Right-click on the unallocated space, select "New Simple Volume," and follow the prompts to format the drive.
- Command Prompt:
- Open Command Prompt as an administrator.
- Use the
diskpartcommand to enter the Diskpart utility. - List disks with
list disk, select the new SSD withselect disk X(replace X with the disk number). - Create a partition and format it with
create partition primary, thenformat fs=ntfs quick.
- Installation USB:
- If using a Windows 10 installation USB, boot from the USB and select "Repair your computer."
- Access advanced settings to format the drive through the command prompt.
The new SSD must have the same partition style as the original drive; if the original drive is GPT, the new drive must also be GPT. This ensures compatibility and optimal performance. For more details on formatting, check our article on how to format m.2 ssd and how to format m.2 ssd windows 11.
Maximizing SSD Performance
To get the most out of an M.2 SSD, it is crucial to monitor its health and utilize appropriate maintenance software. These practices ensure optimal performance and longevity for the SSD.
Monitoring SSD Health
To keep tabs on the health of a newly installed SSD, users should consider using software such as Seagate’s SeaTools. This application facilitates regular maintenance check-ups, helping to detect any potential issues early. It provides useful insights into the SSD's performance metrics and assists users in managing any problems that may arise.
| Feature | Benefits |
|---|---|
| Real-time Monitoring | Keeps track of SSD performance and alerts the user to any potential failures. |
| Maintenance Checks | Allows for easy detection of issues and recommends necessary actions. |
| Performance Metrics | Displays detailed information regarding speed and health statistics. |
Utilizing Maintenance Software
Several applications are available to help manage and enhance SSD performance.
Kingston SSD Manager: This tool is specifically tailored for Kingston SSDs. It provides detailed information about drive health, status, and disk usage, enabling users to optimise performance.
Storage Executive Software: This application offers a wider range of features such as:
- Monitoring storage usage and drive temperature.
- Utilizing Momentum Cache to accelerate SSD operations.
Users should download the appropriate management software that suits their specific SSD brand to ensure efficient operation. Proper maintenance aids in sustaining performance and extending the lifespan of the SSD. For further useful information about SSD operations and management, referring to our guide on how to install m.2 ssd can be beneficial as well.
To enhance the performance of M.2 SSDs, regular monitoring and effective maintenance software are key components in achieving and maintaining optimal functionality.
Troubleshooting and Tips
Addressing OS Support Issues
When installing an M.2 SSD, users should be aware of potential operating system support issues. For instance, Windows® 7 does not inherently support NVMe SSD drives. It is advisable for users on this OS to contact their computer or motherboard manufacturers for assistance regarding getting NVMe support. Microsoft® does provide hotfix support for Windows® 7 to enable NVMe compatibility, which may be necessary for a successful installation. Understanding your operating system's limitations can prevent frustration during the upgrade.
Cloning Data to the New SSD
Cloning data from an existing drive to a new M.2 NVMe SSD is a common practice, especially for those seeking to upgrade their storage without needing to reinstall Windows. It is important to refer to the installation guide that accompanies the SSD before proceeding with the cloning process. Using software like Seagate's DiscWizard is essential for migrating data efficiently.
Here's a general estimate of the time required for data transfer based on the amount of data being copied:
| Data Size | Estimated Time for Cloning |
|---|---|
| Less than 256GB | 20 - 30 minutes |
| 256GB to 1TB | 30 - 90 minutes |
| More than 1TB | Over 90 minutes |
If the new SSD appears to have less storage than expected after cloning, adjustments may be necessary in the drive's settings. This does not typically signify a loss of storage capacity.
When upgrading a drive without reinstalling Windows, performing a clean installation of the operating system using installation media is regarded as the best approach. It ensures that the system is set up correctly to take full advantage of the new SSD's performance.
For detailed guidance on migrating your data, you can check our resource on how to clone m.2 ssd with only one slot or learn about the necessary steps to clone your existing SSD to the M.2 drive by visiting how to migrate ssd to m.2.


