


How to set up gaming pc
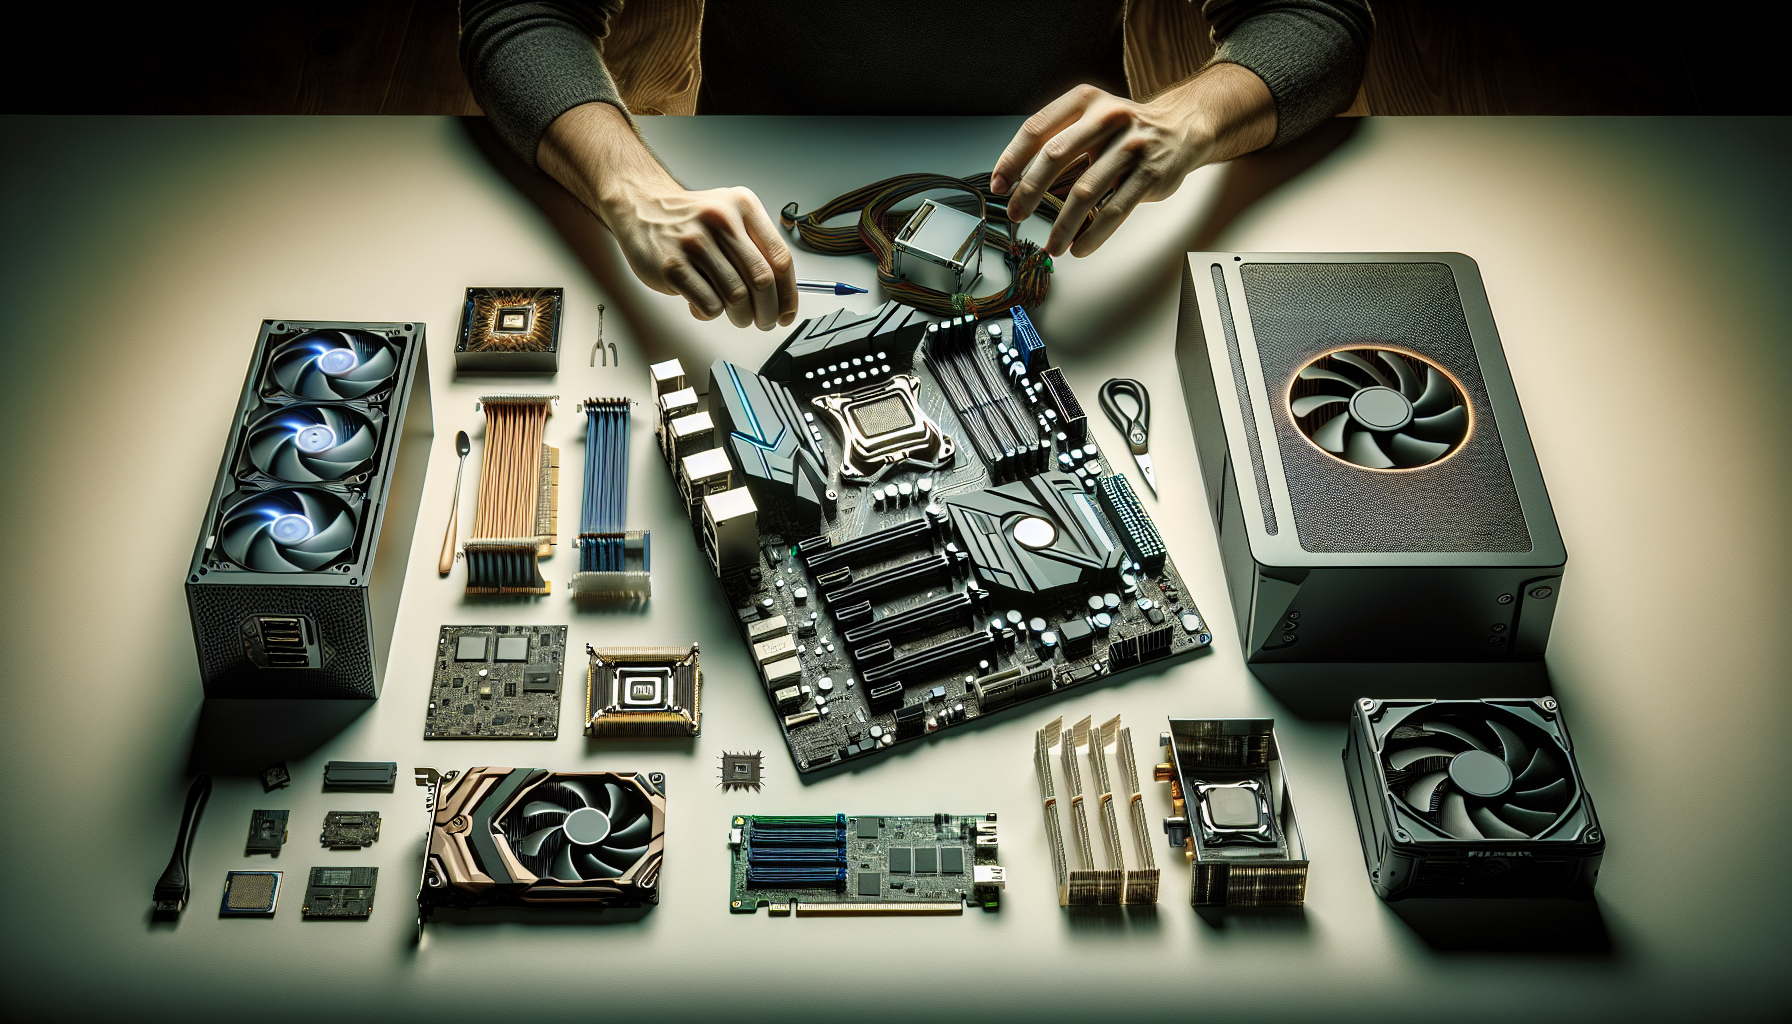
Getting Started with Your Gaming PC Setup
Understanding the Basics of Gaming PCs
To set up a gaming PC, it's crucial to grasp the fundamentals of what makes a gaming PC distinct from a regular computer. A gaming PC is designed to handle complex graphics, fast processing speeds, and seamless multitasking. These machines are equipped with powerful components that enhance the gaming experience, such as high-end graphics cards (GPUs), robust processors (CPUs), and ample memory (RAM).
Gaming PCs can be custom-built or purchased pre-assembled. A custom-built PC allows for more flexibility in component selection, which can be tailored to specific gaming requirements. For those interested in learning more about the specifics of building their own system, refer to our guide on build your own gaming pc.
Why Building Your Own Gaming PC Can Be Beneficial
There are several advantages to building your own gaming PC:
Cost Efficiency: Building a PC can be more economical than purchasing a prebuilt one. You have the freedom to choose components that fit within your budget. For a breakdown of potential costs, see cost to build gaming pc.
Customization: A custom-built PC allows for greater customization. You can select components that match your specific needs and preferences, whether it's a high-performance GPU or additional storage. Explore more on gaming pc components.
Upgradability: Building your own PC makes future upgrades easier. As technology advances, you can replace outdated components without having to buy a new system. This flexibility extends the lifespan of your PC. Learn more about gaming pc lifespan.
Performance: Custom-built PCs can offer superior performance since you can select high-quality parts that work well together. This results in a smoother, more immersive gaming experience. For tips on enhancing performance, visit optimise pc for gaming.
Learning Experience: Building a gaming PC is an educational experience. It provides valuable knowledge about computer hardware and software, which can be useful for troubleshooting and future upgrades. For beginners, see our guide on build gaming pc for beginners.
By understanding the basics and benefits of building a gaming PC, gamers can make informed decisions and create a setup that meets their gaming needs. For those looking to get started, our detailed guide on build a gaming pc provides step-by-step instructions.
Essential Components for Your Gaming PC
When setting up a gaming PC, understanding the essential components is crucial. Each part plays a vital role in ensuring optimal performance and a seamless gaming experience. Below is an overview of the key components you need to consider.
Processor (CPU)
The CPU, or Central Processing Unit, is the brain of your gaming PC. It handles all the instructions from your software and games. A powerful CPU ensures smooth gameplay and efficient multitasking. When choosing a CPU, consider clock speed and the number of cores. Higher clock speeds and more cores generally translate to better performance.
| CPU Feature | Importance |
|---|---|
| Clock Speed (GHz) | High |
| Number of Cores | High |
| Cache Size | Medium |
Graphics Card (GPU)
The GPU, or Graphics Processing Unit, is responsible for rendering images, videos, and animations in your games. A high-quality GPU is essential for running games at high settings and achieving smooth frame rates. Look for GPUs with higher VRAM (Video RAM) for better performance.
| GPU Feature | Importance |
|---|---|
| VRAM (GB) | High |
| Core Clock Speed (MHz) | High |
| Memory Bandwidth (GB/s) | Medium |
Memory (RAM)
RAM, or Random Access Memory, is where your gaming PC stores data that is actively being used. More RAM allows for better multitasking and faster game loading times. For gaming, a minimum of 8GB is recommended, but 16GB or more is ideal for future-proofing.
| RAM Size | Usage |
|---|---|
| 8GB | Basic gaming |
| 16GB | Optimal gaming |
| 32GB | Heavy multitasking and gaming |
Storage (SSD/HDD)
Storage is where all your games, software, and files are kept. There are two main types of storage devices: SSDs (Solid State Drives) and HDDs (Hard Disk Drives). SSDs are faster and more reliable, while HDDs offer more storage space for a lower cost. A combination of both is often recommended.
| Storage Type | Speed | Capacity | Cost |
|---|---|---|---|
| SSD | High | Low to Medium | High |
| HDD | Medium | High | Low |
For more detailed information on adding storage, visit our article on add storage to gaming pc.
Power Supply Unit (PSU)
The PSU provides power to all the components in your gaming PC. It's essential to choose a PSU with enough wattage to support your system, including future upgrades. Look for PSUs with a high efficiency rating (80 Plus certification) to ensure energy efficiency.
| PSU Feature | Importance |
|---|---|
| Wattage (W) | High |
| Efficiency Rating | High |
| Modular Cables | Medium |
For insights on power usage, refer to our article on gaming pc power usage.
Motherboard
The motherboard is the main circuit board that connects all the components of your gaming PC. It determines the compatibility of your CPU, RAM, and other parts. When selecting a motherboard, consider the form factor (ATX, Micro-ATX, Mini-ITX), the number of expansion slots, and the available ports.
| Motherboard Feature | Importance |
|---|---|
| Form Factor | High |
| Expansion Slots | Medium |
| Connectivity (USB, SATA, PCIe) | High |
Understanding these essential components will help you build a gaming PC that meets your needs. For more detailed guidance, check out our article on gaming pc components.
Assembling Your Gaming PC
Setting up your gaming PC can seem daunting, but with the right guidance, it becomes a straightforward process. This section will walk you through the critical steps to get your gaming rig up and running.
Preparing Your Workspace
Before diving into the assembly, it's essential to prepare a clean, organized workspace. A clutter-free environment ensures that you can easily access all components and reduces the risk of losing small parts. Gather all necessary tools, including screwdrivers, an anti-static wrist strap, and thermal paste if needed.
- Clean Surface: Ensure your workspace is clean and free from dust.
- Proper Lighting: Good lighting helps you see small components clearly.
- Anti-Static Precautions: Use an anti-static wrist strap to prevent static electricity from damaging sensitive parts.
Installing Components
Once your workspace is ready, you can begin installing the components. Follow these steps to ensure proper installation:
Processor (CPU) and CPU Cooler
- Install the CPU: Unlock the CPU socket on the motherboard, align the CPU with the socket, and gently place it in. Lock the socket.
- Apply Thermal Paste: Apply a small amount of thermal paste to the center of the CPU.
- Install the CPU Cooler: Attach the CPU cooler according to the manufacturer's instructions, ensuring even pressure on all sides.
Memory (RAM)
- Open the RAM Slots: Push down the clips on the RAM slots.
- Insert the RAM: Align the notch on the RAM stick with the slot and press down firmly until the clips snap back into place.
Storage (SSD/HDD)
- Mount the Storage: Secure the SSD or HDD in the designated bays in the case.
- Connect the Cables: Attach the SATA data cable from the storage to the motherboard and the SATA power cable from the power supply.
Graphics Card (GPU)
- Prepare the PCIe Slot: Remove the expansion slot covers from the case.
- Install the GPU: Align the GPU with the PCIe slot on the motherboard and press down firmly until it clicks into place. Secure it with screws.
Power Supply Unit (PSU)
- Mount the PSU: Place the PSU in its designated area, usually at the bottom or top of the case, and secure it with screws.
- Connect Power Cables: Connect the power cables from the PSU to the motherboard, CPU, GPU, and storage devices.
Connecting Cables and Power Supply
With all the main components installed, the next step is connecting the necessary cables:
- Motherboard Power: Connect the 24-pin ATX power cable to the motherboard.
- CPU Power: Attach the 8-pin CPU power cable to the motherboard.
- GPU Power: If your GPU requires additional power, connect the PCIe power cables from the PSU.
- Storage Data: Ensure all SATA data cables are connected to both the storage devices and the motherboard.
- Front Panel Connectors: Connect the front panel connectors (power switch, reset switch, USB ports, audio jacks) to the motherboard headers.
Cable Management
- Organize Cables: Use cable ties or Velcro straps to bundle and route cables neatly within the case.
- Avoid Obstructions: Ensure that cables do not obstruct airflow or interfere with moving parts.
By following these steps, you will have successfully assembled your gaming PC. For more detailed guides, check out our articles on build a gaming pc and gaming pc components.
Setting Up Your Operating System and Drivers
Once the physical assembly of your gaming PC is complete, the next crucial step is to set up the operating system and update the drivers for optimal performance. This ensures your system runs smoothly and is ready for gaming.
Installing Windows or Other Operating Systems
Most gamers prefer to install Windows due to its compatibility with a wide range of games. However, other operating systems like Linux can also be used.
- Create a Bootable USB Drive: Download the Windows ISO file from the official site and use a tool like Rufus to create a bootable USB drive.
- Insert the USB Drive: Plug the bootable USB drive into your gaming PC and power it on.
- Enter BIOS/UEFI: Access the BIOS/UEFI by pressing the designated key (usually F2, F10, or Delete) during startup.
- Set Boot Priority: In the BIOS/UEFI, set the USB drive as the primary boot device.
- Install Windows: Follow the on-screen instructions to install Windows. Make sure to partition your drive if necessary.
- Activate Windows: Once installed, activate Windows using a valid product key.
For detailed guidance on various operating systems, refer to our article on the best operating system for gaming PC.
Updating Drivers for Optimal Performance
After installing the operating system, updating your drivers is essential to ensure the best performance and stability. Key drivers to update include those for the motherboard, graphics card, and other peripherals.
- Motherboard Drivers: Visit the motherboard manufacturer's website and download the latest chipset, audio, and LAN drivers.
- Graphics Card Drivers: Visit the GPU manufacturer's website (NVIDIA or AMD) and download the latest drivers for your graphics card.
- Peripheral Drivers: Update drivers for other peripherals like gaming keyboards, mice, and monitors.
| Component | Driver Type | Source |
|---|---|---|
| Motherboard | Chipset, Audio, LAN | Manufacturer's Website |
| Graphics Card | GPU Driver | NVIDIA/AMD Website |
| Peripherals | Keyboard, Mouse, Monitor | Manufacturer's Website |
For further tips on optimising your gaming PC, check out our guide on optimise PC for gaming.
By ensuring the operating system and drivers are correctly installed and up-to-date, your gaming PC will be ready to deliver a smooth and immersive gaming experience.
Configuring Your Gaming Setup
Setting up a gaming PC goes beyond just assembling the components. Proper configuration ensures that you get the best performance and experience from your machine. This section covers adjusting display settings, customizing keyboard and mouse settings, and installing gaming software.
Adjusting Display Settings
A well-configured display can make a significant difference in your gaming experience. Adjusting the resolution, refresh rate, and other display settings can help achieve optimal performance.
- Resolution: Ensure your monitor is set to its native resolution for the best visual clarity.
- Refresh Rate: A higher refresh rate (such as 144Hz or 240Hz) provides smoother gameplay. Adjust this in your monitor settings and in-game settings.
- Colour Calibration: Fine-tuning colour settings can improve the visual quality of your games.
| Setting | Description | Recommended Value |
|---|---|---|
| Resolution | Number of pixels displayed | Native (e.g., 1920x1080) |
| Refresh Rate | Frequency of screen refreshes per second | 144Hz or higher |
| Colour Calibration | Adjusts colours for accuracy | Use calibration tool |
For more details on setting up your monitor, check out our guide on plug monitor into gaming pc.
Customizing Keyboard and Mouse Settings
Customizing your keyboard and mouse settings can enhance your gaming precision and comfort. Adjusting these peripherals to your preferences can make a big difference in your gameplay.
- Key Mapping: Assign specific functions to different keys based on your gaming needs.
- DPI Settings: Adjust the DPI (Dots Per Inch) settings on your mouse for better control and precision.
- Lighting Effects: If you have RGB peripherals, customize the lighting to match your gaming setup.
| Setting | Description | Recommended Value |
|---|---|---|
| Key Mapping | Customizing function of keys | Based on game and personal preference |
| DPI Settings | Sensitivity of mouse | 800-1600 DPI for most games |
| Lighting Effects | RGB settings | Personal preference |
For more tips, visit our article on gaming pc components.
Installing Gaming Software
Installing the right software is crucial for optimising your gaming PC. This includes game launchers, performance monitoring tools, and communication software.
- Game Launchers: Install popular game launchers like Steam, Epic Games Store, and others to access your library.
- Performance Monitoring: Use tools like MSI Afterburner to monitor system performance and temperatures.
- Communication Software: Install programs like Discord for voice chat and community engagement.
Ensure you keep all your software updated to the latest versions for the best performance and security. Learn more about optimizing your gaming PC in our article on optimise pc for gaming.
By properly configuring your gaming setup, you can ensure a smoother and more enjoyable gaming experience. Adjusting display settings, customising your keyboard and mouse, and installing essential gaming software are key steps in making the most out of your gaming PC.
Optimising Your Gaming PC
Once your gaming PC is set up, it’s crucial to optimise it for peak performance. This involves managing updates, monitoring performance, and employing tips to enhance your gaming experience.
Managing Updates and Maintenance
Regular updates and maintenance are vital for keeping your gaming PC running smoothly. This includes updating your operating system, drivers, and gaming software. By keeping everything up-to-date, you ensure compatibility with the latest games and improve overall system performance.
Key Maintenance Tasks:
- Operating System Updates: Regularly check for and install updates for your OS.
- Driver Updates: Update GPU, sound card, and other essential drivers.
- Software Updates: Keep your gaming software and tools up to date.
| Component | Update Frequency | Importance |
|---|---|---|
| Operating System | Monthly | High |
| GPU Driver | Monthly | High |
| Sound Card Driver | Quarterly | Medium |
| Gaming Software | Monthly | High |
Monitoring Performance
Monitoring your gaming PC’s performance helps identify any bottlenecks or issues affecting gameplay. Utilise performance monitoring tools to track CPU, GPU, and memory usage. These tools can help you understand how your system handles various games and applications.
Performance Metrics to Monitor:
- CPU Usage: Ensure the processor isn’t overburdened.
- GPU Usage: Check the graphics card’s performance.
- Memory Usage: Monitor RAM usage during gaming sessions.
- Temperature: Keep an eye on system temperatures to prevent overheating.
Tips for Enhancing Gaming Experience
To get the most out of your gaming PC, consider implementing the following tips:
- Adjust In-Game Settings: Tweaking graphics settings can significantly improve performance. Lowering settings like shadows, textures, and resolution can lead to smoother gameplay.
- Overclocking: For advanced users, overclocking the CPU or GPU can boost performance. Ensure proper cooling solutions are in place to handle the increased heat.
- Optimise Storage: Use SSDs for faster game load times. Consider adding additional storage if needed. Learn more about adding storage to your gaming PC.
- Cable Management: Proper cable management enhances airflow inside the case, reducing heat buildup.
- Regular Cleaning: Dust can accumulate inside your PC, affecting performance. Regularly clean your PC’s interior to maintain optimal airflow.
By following these tips and regularly maintaining your system, you can ensure your gaming PC remains in top condition, providing an exceptional gaming experience. For more detailed advice, check out our article on optimising your PC for gaming.


