


How to make a gaming pc
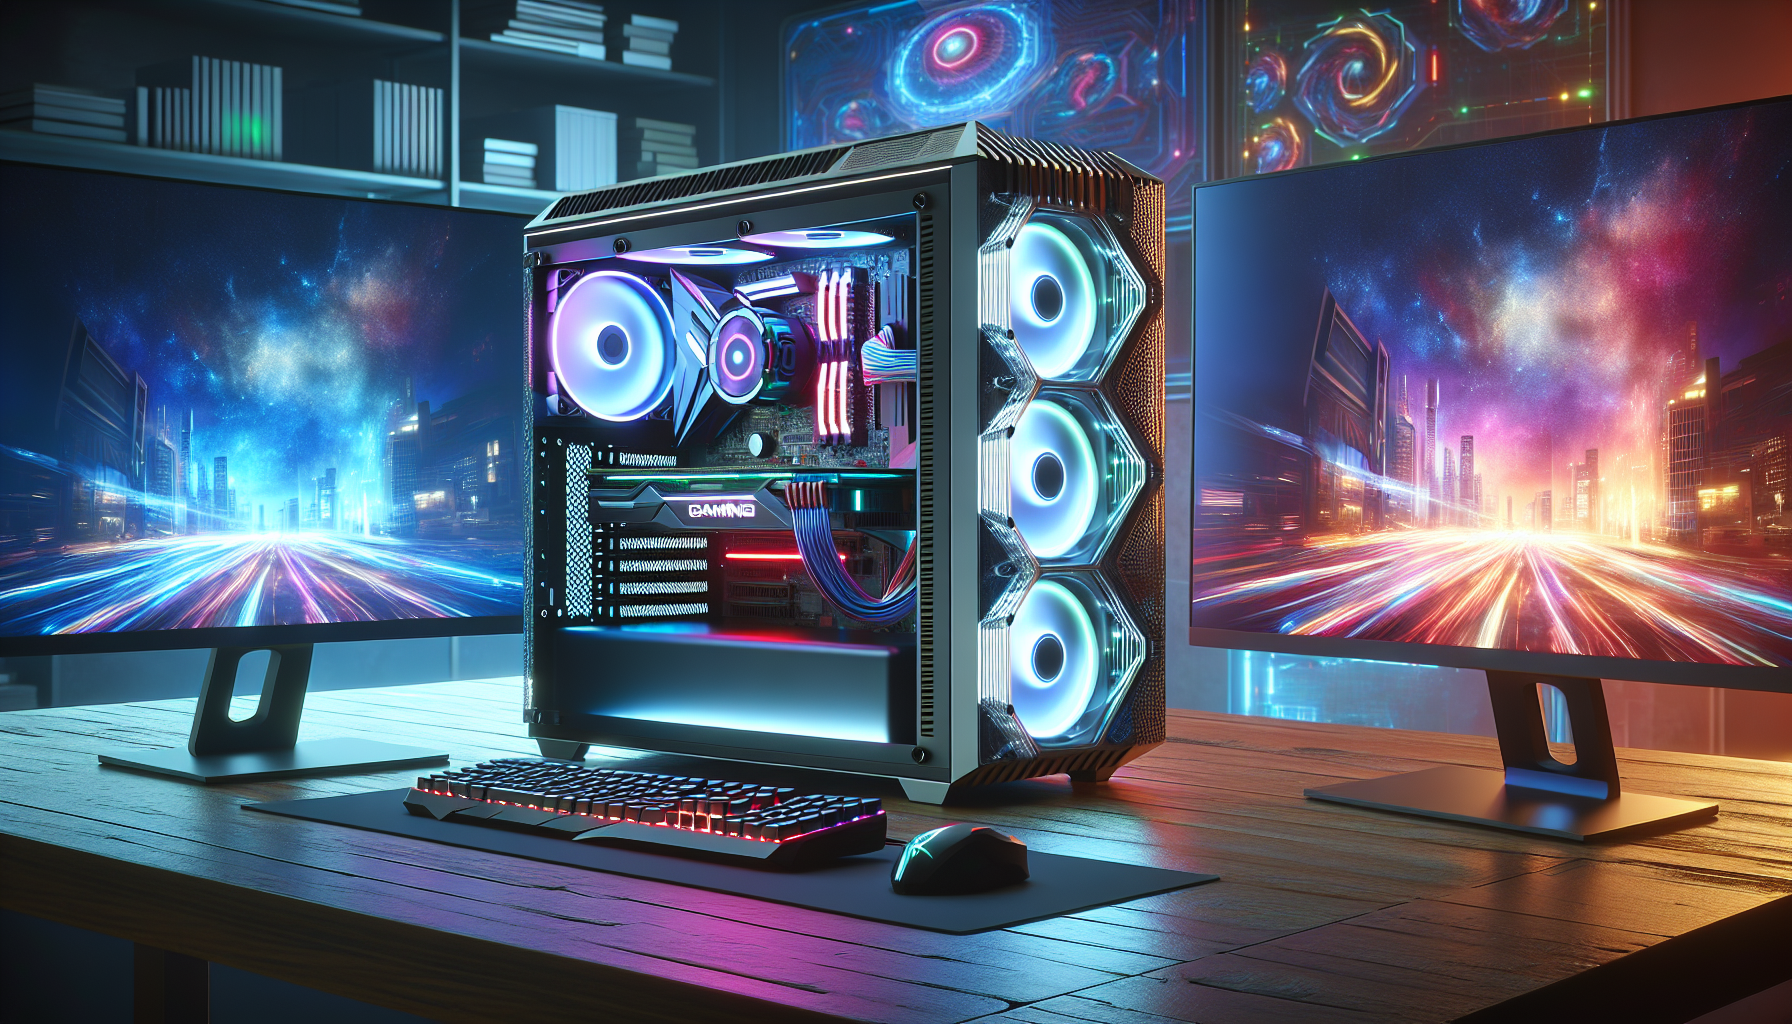
Building Your Own Gaming PC
Why Build Your Own Gaming PC
Building a gaming PC offers a level of customization and control that prebuilt systems simply can't match. By assembling the components yourself, you gain a deeper understanding of how each part contributes to the overall performance. This hands-on experience is invaluable for any gamer looking to optimise their gaming experience.
Creating your own gaming PC also allows for tailored performance. You can select components that meet your specific needs, whether it's for high-resolution gaming, virtual reality, or competitive e-sports. The ability to choose each part ensures that your system will perform exactly how you want it to.
For those in Australia considering building a gaming PC, it's important to understand the local market and availability of parts. You can buy gaming pc parts from various Australian retailers to ensure compatibility and warranty support.
Benefits of Building Your Own Gaming PC
The benefits of building your own gaming PC extend beyond just performance. One of the most significant advantages is cost-efficiency. By selecting individual components, you can often build a high-performing system at a lower price than a comparable prebuilt machine. For a detailed breakdown of costs, refer to our article on the cost to build a gaming pc.
| Benefit | Description |
|---|---|
| Customization | Tailor every component to your specific needs. |
| Cost-Efficiency | Often cheaper than prebuilt systems. |
| Upgradability | Easier to upgrade individual components over time. |
| Learning Experience | Gain a deeper understanding of computer hardware. |
Building your own gaming PC also makes future upgrades simpler. As technology advances, you can easily replace outdated components with newer ones, extending the lifespan of your system. This is particularly useful for gamers who want to stay on the cutting edge without purchasing a new system every few years.
Another benefit is the learning experience. Assembling a PC provides valuable knowledge about computer hardware and troubleshooting. This expertise is useful not only for maintaining your gaming rig but also for general computer use.
For more detailed guides on specific aspects of building a gaming PC, such as gaming pc components and optimizing your pc for gaming, explore our extensive resources.
Components Needed
Building a gaming PC requires several key components. Each part plays a crucial role in ensuring the system performs optimally for gaming. Below are the essential components needed to make a gaming PC.
Processor (CPU)
The Central Processing Unit (CPU) is the brain of the computer. It processes instructions and performs calculations needed to run games and other software. For gaming, a multi-core processor with high clock speeds is ideal. When selecting a CPU, consider both the clock speed (measured in GHz) and the number of cores.
| CPU Attribute | Recommended Spec |
|---|---|
| Clock Speed | 3.5 GHz or higher |
| Cores | 4 cores or more |
Graphics Card (GPU)
The Graphics Processing Unit (GPU) is critical for rendering images, videos, and animations. It offloads these tasks from the CPU, ensuring smoother gameplay and better graphics quality. A powerful GPU is essential for running modern games at high settings.
| GPU Attribute | Recommended Spec |
|---|---|
| VRAM | 4 GB or higher |
| Core Clock Speed | 1500 MHz or higher |
Motherboard
The motherboard is the main circuit board that connects all components of the gaming PC. It must be compatible with the chosen CPU and GPU. Features to look for include support for sufficient RAM, multiple USB ports, and expansion slots for future upgrades.
| Motherboard Attribute | Recommended Spec |
|---|---|
| Chipset | Compatible with CPU |
| RAM Slots | Minimum 4 slots |
| Expansion Slots | PCIe 3.0 or higher |
Memory (RAM)
Random Access Memory (RAM) is used by the system to store data that is actively being used. For gaming, having sufficient RAM ensures smoother performance and faster load times.
| RAM Attribute | Recommended Spec |
|---|---|
| Capacity | 16 GB or higher |
| Speed | 3000 MHz or higher |
For more details on RAM requirements, visit our article on gaming pc ram.
Storage
Storage is where all your games, files, and applications are stored. There are two main types of storage: Hard Disk Drives (HDD) and Solid-State Drives (SSD). SSDs are faster and more reliable but are typically more expensive than HDDs.
| Storage Type | Recommended Spec |
|---|---|
| SSD | 500 GB or higher |
| HDD | 1 TB or higher |
For tips on adding storage, check out our guide on add storage to gaming pc.
Power Supply
The Power Supply Unit (PSU) provides power to all components of the gaming PC. It's essential to choose a PSU with enough wattage to support all the components, with some extra capacity for future upgrades.
| PSU Attribute | Recommended Spec |
|---|---|
| Wattage | 600W or higher |
| Efficiency Rating | 80 Plus Bronze or higher |
For more on power usage and efficiency, read our article on gaming pc power usage.
These components form the core of any gaming PC. Each part must be chosen carefully to ensure compatibility and optimal performance. For further details on building your own gaming PC, visit our comprehensive guide on build a gaming pc.
Tools Required
Building a gaming PC requires several essential tools to ensure a smooth and efficient assembly process. These tools help in securing components, preventing damage, and managing cables for a clean setup.
Screwdriver
A screwdriver is indispensable for assembling a gaming PC. Most components, such as the motherboard, hard drives, and power supply, require screws to be securely fastened. A magnetic screwdriver is particularly useful as it helps to prevent screws from falling into hard-to-reach places within the case. Ensure you have both Phillips and flathead screwdrivers available to accommodate different types of screws.
Anti-static Wrist Strap
An anti-static wrist strap is crucial for protecting your components from static electricity. Static discharge can damage sensitive parts like the CPU and GPU. The wrist strap grounds you, preventing any static build-up from transferring to your components. To use, simply attach the strap to your wrist and clip the other end to a grounded metal object, such as your PC case.
Cable Ties
Cable ties are essential for managing and organizing the numerous cables inside your gaming PC. Proper cable management not only improves airflow, reducing the risk of overheating, but also makes your build look cleaner and more professional. Velcro and plastic cable ties are both effective options.
Thermal Paste
Thermal paste is applied between the CPU and its cooler to improve heat transfer. This ensures that the CPU remains cool during operation, which is critical for maintaining performance and longevity. A small dot or a thin line of thermal paste is usually sufficient. Some CPU coolers come with pre-applied thermal paste, but having an extra tube on hand is always a good idea.
For a detailed guide on how to build a gaming pc, including the assembly process and initial setup, explore our other sections. Additionally, check out our articles on optimise PC for gaming and cost to build gaming pc for more insights.
Assembly Process
Building your own gaming PC involves several steps to ensure each component is properly installed. Follow this guide to assemble your gaming rig.
Preparing the Case
Start by preparing the case. Remove the side panels to access the interior. Ensure you have a clean and static-free workspace. Place the case on a flat surface and organise your components.
Installing the Motherboard
Place the motherboard on an anti-static mat. Align it with the standoffs in the case. Secure the motherboard using screws, ensuring it’s firmly attached. Connect the front panel connectors to the motherboard.
Installing the CPU and CPU Cooler
Insert the CPU into the socket on the motherboard. Align the notches and gently press down. Apply a small amount of thermal paste on the CPU. Attach the CPU cooler, ensuring it’s secured and connected to the motherboard.
Installing the GPU
Insert the GPU into the PCIe slot on the motherboard. Ensure it clicks into place. Secure the GPU with screws to the case. Connect any necessary power cables from the power supply to the GPU.
Installing Memory (RAM)
Insert the RAM sticks into the appropriate slots on the motherboard. Push down until the clips on the sides snap into place. Refer to the motherboard manual for the correct slots if using multiple RAM sticks.
Connecting Storage Devices
Install your SSD or HDD in the designated drive bays. Secure them with screws. Connect the SATA cables from the storage devices to the motherboard. Plug in the power cables from the power supply to the storage devices.
Connecting Power Supply
Place the power supply unit (PSU) in its designated spot in the case. Secure it with screws. Connect the 24-pin ATX power cable to the motherboard. Connect the 8-pin CPU power cable to the motherboard. Route and connect additional power cables to the GPU, storage devices, and any other components.
By following these steps, you can successfully assemble your own gaming PC. For more tips on building a gaming PC, visit our article on build a gaming pc. For information on optimising your PC for gaming, check out optimise pc for gaming.
Initial Setup and Testing
After assembling all the components of your gaming PC, it's time to set up and test the system to ensure everything is functioning correctly.
Powering Up the System
Before powering up the system, double-check all the connections and ensure that all components are securely installed. Once verified, follow these steps:
- Connect the Power Supply: Plug the power supply into an electrical outlet.
- Turn on the Power Switch: Switch on the power supply unit (PSU) and then press the power button on the case.
- Monitor the Initial Boot: Observe the boot process on the monitor. If the system doesn't power on, check the connections and ensure the power cables are properly attached.
Installing Operating System and Drivers
Once the system powers up, the next step is to install the operating system (OS) and the necessary drivers. Follow these steps:
- Insert OS Installation Media: Place the OS installation DVD or USB drive into the appropriate slot.
- Boot from Installation Media: Restart the system and enter the BIOS/UEFI by pressing the designated key (often F2, Del, or Esc). Set the boot priority to the installation media.
- Install the OS: Follow the on-screen instructions to install the OS. Common choices for a gaming PC include Windows 10 or Linux.
- Install Drivers: After the OS is installed, download and install the latest drivers for your motherboard, graphics card, and other components. This ensures optimal performance and compatibility.
Testing Performance and Stability
Testing the performance and stability of your new gaming PC is crucial to ensure it runs smoothly. Use benchmarking tools and stress-testing software to evaluate the system:
- Benchmarking Software: Use software such as 3DMark or Cinebench to test the performance of your CPU and GPU.
- Stress Testing: Tools like Prime95 and FurMark can be used to stress test the CPU and GPU, respectively. Monitor temperatures using software like HWMonitor to ensure components remain within safe operating ranges.
- Monitor Stability: Run these tests for an extended period (e.g., 4-6 hours) to confirm system stability. If any issues arise, revisit the assembly steps to check for loose connections or improperly installed components.
| Test | Software | Purpose |
|---|---|---|
| CPU Benchmark | Cinebench | Evaluates CPU performance |
| GPU Benchmark | 3DMark | Assesses GPU performance |
| CPU Stress Test | Prime95 | Tests CPU stability under load |
| GPU Stress Test | FurMark | Tests GPU stability under load |
Regularly monitor system performance and stability to ensure your gaming PC continues to operate efficiently. For more detailed guidance on optimising your PC, refer to our article on optimise pc for gaming.
For additional tips on maintaining and upgrading your gaming PC, visit our related articles on gaming pc components and gaming pc power usage.
Maintenance and Upgrades
Maintaining and upgrading your gaming PC is crucial to ensure peak performance and longevity. This section covers regular cleaning, monitoring temperatures, upgrading components, and troubleshooting common issues.
Regular Cleaning
Regular cleaning prevents dust buildup, which can affect the performance and longevity of your gaming PC. Dust can clog fans, leading to overheating and potential hardware damage.
- Turn off and unplug the PC.
- Open the case and use compressed air to blow out dust from fans, heatsinks, and other components.
- Wipe down surfaces with a soft, lint-free cloth.
Monitoring Temperatures
Monitoring the temperatures of your gaming PC is essential to prevent overheating. High temperatures can reduce the lifespan of components and cause performance issues. Use software tools to keep an eye on your CPU and GPU temperatures.
| Component | Safe Operating Temperature Range |
|---|---|
| CPU | 40°C - 70°C |
| GPU | 60°C - 85°C |
For more tips on keeping your gaming PC cool, check out our article on gaming pc fans.
Upgrading Components
Upgrading components can significantly enhance the performance of your gaming PC. Common upgrades include increasing RAM, upgrading the GPU, and adding more storage.
Steps to upgrade a component:
- Identify the component you wish to upgrade.
- Purchase the compatible upgrade.
- Turn off and unplug the PC.
- Carefully remove the old component.
- Install the new component.
- Turn on the PC and install any necessary drivers.
For detailed guidance on specific upgrades, visit our articles on add storage to gaming pc and gaming pc ram.
Troubleshooting Common Issues
Despite regular maintenance, issues may still arise. Here are some common problems and their solutions:
- PC not turning on: Check power supply connections and ensure the power switch is on.
- Overheating: Ensure all fans are working and clean any dust buildup.
- Slow performance: Check for malware, update drivers, and consider upgrading components.
- No display: Verify GPU connections and check the monitor.
For more troubleshooting tips, see our article on optimise pc for gaming.
By following these maintenance and upgrade tips, you can ensure your gaming PC remains in top condition, providing optimal performance for years to come.


