


How to build your own gaming pc
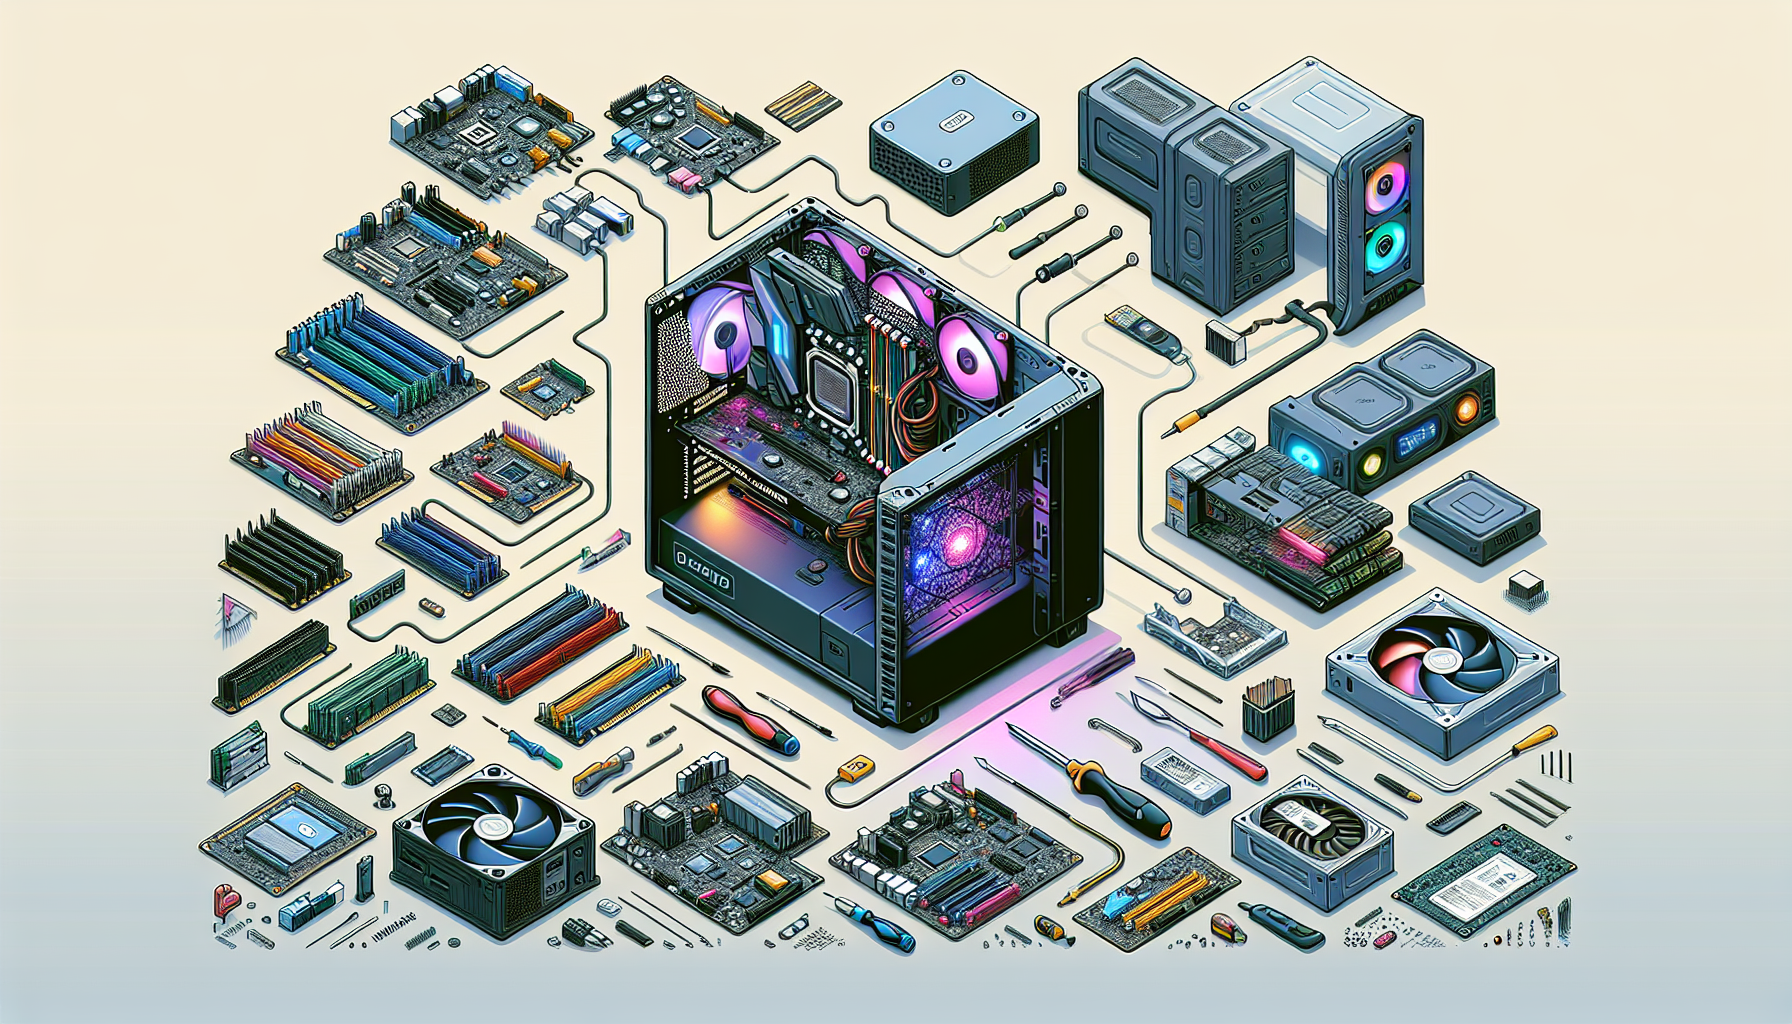
Introduction to Building Your Own Gaming PC
Building your own gaming PC can seem like a daunting task, but it comes with numerous advantages and is worth considering for any serious gamer. This section will delve into the benefits of creating a custom gaming rig and the factors one should contemplate before starting the build process.
Benefits of Building Your Own Gaming PC
Creating your own gaming PC offers several key benefits. First and foremost, it allows for complete customisation, ensuring that the system meets your specific gaming and performance needs. Whether you are a casual gamer or a professional esports player, building your own PC gives you the flexibility to choose components that match your requirements.
Another significant benefit is cost-effectiveness. By selecting and purchasing individual components, you can often save money compared to buying a pre-built gaming PC with similar specifications. This can be particularly advantageous for PC gamers in Australia looking to get the best value for their money.
Performance optimisation is another major advantage. By handpicking high-quality components, you can ensure better performance and longevity of your gaming rig. Moreover, it allows for easy upgrades in the future, enabling you to keep up with the latest gaming technology without having to replace the entire system.
Factors to Consider Before Building
Before embarking on the journey to build your own gaming PC, there are several important factors to consider:
Budget: Determine how much you are willing to spend on your gaming PC. This will guide your choices in components and help you prioritise which parts to invest more in. For insights on budgeting, check out our guide on gaming pc budget.
Component Compatibility: Ensure that the components you choose are compatible with each other. This includes checking the motherboard's compatibility with the CPU, GPU, RAM, and storage options. Incompatibility can lead to performance issues or even system failures.
Gaming Requirements: Consider the type of games you will be playing and their specific requirements. High-end games demand better graphics cards and processors, while less intensive games can run smoothly on mid-range components. For detailed requirements, refer to our article on gaming pc requirements.
Power Supply: The power supply unit (PSU) is a critical component that ensures your system runs efficiently. Make sure to choose a PSU that can handle the power requirements of all your components. For more information, visit our page on gaming pc power usage.
Cooling System: Proper cooling is essential to prevent overheating and maintain optimal performance. Depending on your build, you might need additional cooling solutions. Learn more about cooling options in our section on gaming pc fans.
Future Upgrades: Plan for future upgrades by selecting components that offer flexibility for enhancements. This includes choosing a motherboard with additional slots for RAM, PCIe slots for GPUs, and enough space for extra storage.
By considering these factors and doing thorough research, you can embark on building your own gaming PC with confidence. For a comprehensive guide on the components needed, check out our section on gaming pc components.
This introduction sets the stage for building a gaming PC that not only meets your current needs but also allows for growth and adaptability in the future.
Components Needed for Your Gaming PC
When you decide to build your own gaming PC, understanding the essential components is crucial. Each component plays a vital role in the overall performance and functionality of your custom-built machine.
Processor (CPU)
The Central Processing Unit (CPU) is the brain of your gaming PC. It handles all the instructions from your software and games. A powerful CPU ensures smooth gameplay and multitasking capabilities.
| CPU Feature | Description |
|---|---|
| Cores | Multiple cores improve multitasking and performance in games that support multi-threading. |
| Clock Speed | Higher clock speeds (measured in GHz) result in faster processing and better performance. |
Graphics Card (GPU)
The Graphics Processing Unit (GPU) is critical for rendering images, videos, and animations. For gamers, a high-performance GPU is essential for running games at high settings and resolutions.
| GPU Feature | Description |
|---|---|
| VRAM | More VRAM allows for higher resolution textures and better performance in modern games. |
| CUDA Cores | More CUDA cores generally mean better performance in parallel processing tasks. |
Memory (RAM)
Random Access Memory (RAM) is crucial for multitasking and smooth gameplay. It temporarily stores data that your CPU needs to access quickly.
| RAM Feature | Description |
|---|---|
| Capacity | At least 16GB is recommended for gaming, with 32GB being optimal for future-proofing. |
| Speed | RAM speed (measured in MHz) affects how quickly data can be accessed and transferred. |
For more details on the optimal RAM for gaming, visit gaming pc ram.
Storage (SSD/HDD)
Storage is where your games, operating system, and files are kept. There are two main types: Solid State Drives (SSD) and Hard Disk Drives (HDD).
| Storage Type | Description |
|---|---|
| SSD | Faster read/write speeds, leading to quicker boot times and game loading. |
| HDD | Larger storage capacities at a lower cost, but slower than SSDs. |
For information on expanding storage, check out add storage to gaming pc.
Motherboard
The motherboard is the backbone of your gaming PC. It connects all the components and allows them to communicate with each other.
| Motherboard Feature | Description |
|---|---|
| Form Factor | ATX, Micro-ATX, and Mini-ITX are common sizes. Choose based on your case size and expansion needs. |
| Socket Type | Ensure compatibility with your chosen CPU. |
Power Supply Unit (PSU)
The Power Supply Unit (PSU) provides power to all your components. Choosing a reliable PSU is vital for system stability and longevity.
| PSU Feature | Description |
|---|---|
| Wattage | Ensure it meets the power requirements of your components. A 650W PSU is generally sufficient for most builds. |
| Efficiency | Look for 80 Plus certification for better energy efficiency. |
For more on power requirements, visit gaming pc power usage.
Cooling System
A good cooling system is essential to keep your components at optimal temperatures, especially during intense gaming sessions.
| Cooling Type | Description |
|---|---|
| Air Cooling | Uses fans to dissipate heat. Easier to install and maintain. |
| Liquid Cooling | More efficient at heat dissipation, suitable for overclocking and high-performance builds. |
Learn about different cooling options in our article on gaming pc fans.
By carefully selecting and understanding these components, you can build your own gaming PC tailored to your needs and preferences. For a step-by-step guide, check out our article on build a pc for gaming.
Building Your Gaming PC
When embarking on the journey to build your own gaming PC, it's important to follow a structured approach. This ensures that each component is correctly installed and that the system runs smoothly.
Step-by-Step Guide to Assembling Your PC
Prepare Your Workspace:
- Ensure you have a clean, static-free environment.
- Gather all components and tools.
Install the Processor (CPU):
- Open the CPU socket on the motherboard.
- Align the CPU with the socket and gently place it in.
- Secure the CPU by closing the socket latch.
Attach the CPU Cooler:
- Apply a small amount of thermal paste if required.
- Place the cooler on the CPU and secure it according to the manufacturer's instructions.
Install Memory (RAM):
- Open the RAM slots on the motherboard.
- Align the RAM sticks with the slots and press down until they click into place.
Mount the Motherboard:
- Place the motherboard in the PC case aligning it with the standoffs.
- Secure the motherboard with screws.
Install Storage (SSD/HDD):
- Mount the SSD or HDD in the appropriate bay in the PC case.
- Secure it with screws if necessary.
Install the Power Supply Unit (PSU):
- Place the PSU in its designated spot in the case.
- Secure it with screws.
Install the Graphics Card (GPU):
- Insert the GPU into the appropriate PCI-Express slot on the motherboard.
- Secure it with screws.
Connecting Components and Cables
Connect the Power Supply:
- Attach the 24-pin power connector to the motherboard.
- Connect the 8-pin CPU power connector.
- Attach power connectors to the GPU and storage devices.
Connect Data Cables:
- Connect SATA cables from the motherboard to the SSD/HDD.
- Attach any necessary USB, audio, and front panel connectors.
Install Cooling Fans:
- Mount any additional case fans.
- Connect the fan headers to the motherboard.
Check All Connections:
- Ensure all components are securely connected.
- Double-check that no cables are loose.
| Component | Connection Type | Connector |
|---|---|---|
| CPU Power | 8-pin | CPU Power Connector |
| Motherboard Power | 24-pin | ATX Power Connector |
| GPU Power | 6/8-pin | PCIe Power Connector |
| Storage | SATA | SATA Power/Data |
| Fans | 3/4-pin | Fan Headers |
Following these steps will help you successfully build your own gaming PC. For more detailed tips, visit our article on building a PC for gaming.
For further information on optimising your setup, check out our guide on optimising your PC for gaming. If you encounter any issues, our troubleshooting section can provide additional insights.
Installing Operating System and Drivers
After assembling your gaming PC, the next crucial step is installing the operating system (OS) and updating the drivers to ensure optimal performance. This section will guide you through these processes.
Installing the Operating System
Before you can enjoy your new gaming PC, you need to install an operating system. The most popular choice for gamers is Windows, but you can choose any OS that meets your needs.
- Prepare Installation Media: Download the OS installation file from the official website and create a bootable USB drive.
- Boot from USB Drive: Insert the USB drive into your PC and restart. Enter the BIOS setup by pressing the designated key (usually F2, F12, Delete, or Esc) during startup. Change the boot order to boot from the USB drive first.
- Start Installation: Save changes and exit BIOS. The PC will now boot from the USB drive and start the OS installation process.
- Follow On-Screen Instructions: Select your language, time, and keyboard preferences. Click 'Install Now' and enter your product key if prompted.
- Choose Installation Type: Select 'Custom: Install Windows only (advanced)' to perform a clean installation.
- Select Drive: Choose the drive where you want to install the OS, typically your SSD for faster performance.
- Complete Installation: Follow the remaining prompts to complete the installation. Your PC will restart several times during this process.
For more details on setting up your gaming PC, check out our guide on set up gaming pc.
Updating Drivers for Optimal Performance
Once the operating system is installed, updating drivers is essential to ensure your hardware components function correctly and efficiently.
- Access Device Manager: Right-click on the 'Start' menu and select 'Device Manager'.
- Identify Hardware Components: In the Device Manager, you will see a list of all hardware components that need drivers.
- Update Drivers: Right-click on each component (e.g., graphics card, sound card) and select 'Update driver'. Choose 'Search automatically for updated driver software'.
- Manufacturer Websites: For the best performance, download the latest drivers directly from the manufacturer’s website (e.g., NVIDIA, AMD, Intel).
- Install Drivers: Follow the on-screen instructions to install the downloaded drivers.
| Component | Driver Source |
|---|---|
| Graphics Card (GPU) | Manufacturer Website |
| Motherboard | Manufacturer Website |
| Sound Card | Device Manager or Manufacturer Website |
| Network Adapter | Device Manager or Manufacturer Website |
Regularly updating your drivers can help avoid performance issues and ensure your system remains compatible with new games and software. For additional tips on optimising your PC for gaming, visit our article on optimize pc for gaming.
By following these steps, you will have a fully functional gaming PC ready for action. For more information on building and maintaining your gaming rig, explore our resources on build a pc for gaming and gaming pc components.
Testing and Troubleshooting
Powering Up Your PC for the First Time
After assembling your gaming PC, the moment of truth arrives: powering it up for the first time. Follow these steps to ensure a successful boot-up:
- Connect to Power: Ensure the power supply unit (PSU) is securely connected to both the motherboard and the wall socket.
- Monitor Connection: Connect your monitor to the graphics card using the appropriate cable. For more details, check our guide on plug monitor into gaming pc.
- Peripheral Setup: Attach your keyboard and mouse to the USB ports.
- Power On: Press the power button on the case. The fans should start spinning, and you should see an initial display on the monitor.
If the PC doesn't power on, double-check all connections, including the power cables to the motherboard and GPU.
Common Issues and How to Troubleshoot
Even with careful assembly, issues can arise. Here are some common problems and their solutions:
No Power
- Symptom: The PC does not turn on; no lights, no fan movement.
- Cause: This could be due to an unplugged power cable, faulty power supply, or connection issue.
- Solution: Verify that the power cable is securely plugged into the PSU and wall socket. Ensure the PSU switch is turned on. Check the connections on the motherboard and PSU.
No Display
- Symptom: The PC powers on, but there is no display on the monitor.
- Cause: This could be due to a loose connection, an issue with the graphics card, or incorrect monitor input settings.
- Solution: Confirm that the monitor is set to the correct input source. Check that the graphics card is properly seated in the PCIe slot and that the power cables are connected. Refer to our set up gaming pc guide for more details.
Continuous Beeping
- Symptom: The PC makes continuous beeping sounds without booting.
- Cause: Beeping codes indicate hardware issues such as RAM, CPU, or GPU problems.
- Solution: Refer to the motherboard manual for beep code definitions. Re-seat the RAM and GPU. Ensure the CPU is correctly installed.
Overheating
- Symptom: The PC shuts down unexpectedly or displays high temperature warnings.
- Cause: This could be due to insufficient cooling or improper thermal paste application.
- Solution: Ensure that all fans are operational and properly installed. Reapply thermal paste if necessary. For more details, check out our article on gaming pc cooling systems.
USB Ports Not Working
- Symptom: USB devices are not recognized or functioning.
- Cause: This could be due to a faulty USB header connection or outdated drivers.
- Solution: Check the USB header connections on the motherboard. Update the USB drivers through the operating system.
| Issue | Symptom | Common Cause | Solution |
|---|---|---|---|
| No Power | No lights or fan movement | Unplugged power cable, faulty PSU | Verify power connections, check PSU |
| No Display | PC powers on, no monitor display | Loose connection, GPU issue | Check monitor input, re-seat GPU |
| Continuous Beeping | Beeping sounds, no boot | Hardware issues (RAM, CPU, GPU) | Refer to beep codes, re-seat components |
| Overheating | Unexpected shutdowns, high temps | Insufficient cooling, thermal paste | Check fans, reapply thermal paste |
| USB Ports Not Working | USB devices not recognized | Faulty USB header, outdated drivers | Check connections, update drivers |
For additional troubleshooting tips and detailed guides, explore our extensive resources on build a gaming pc and optimise pc for gaming.
Maintenance and Upgrades
Tips for Maintaining Your Gaming PC
To ensure that your gaming PC remains in peak condition, regular maintenance is essential. Here are some crucial tips for maintaining your gaming rig:
Clean Your PC Regularly: Dust and debris can accumulate inside your PC, leading to overheating and reduced performance. Use compressed air to clean the interior components, including fans, the motherboard, and the power supply unit.
Monitor Temperatures: Keep an eye on the temperatures of your CPU and GPU using monitoring software. High temperatures can indicate issues with cooling and may require cleaning or even upgrading your cooling system. For more on cooling systems, check our article on gaming pc cooling systems.
Update Software and Drivers: Regularly update your operating system and drivers to ensure optimal performance and security. Updated drivers can also fix bugs and improve compatibility with new games. Learn more about driver updates in our section on updating drivers for optimal performance.
Check for Malware: Use antivirus software to scan your PC for malware, which can significantly impact performance. Schedule regular scans to keep your system secure.
Manage Cables: Proper cable management can improve airflow within your case, helping to keep temperatures down. It also makes future upgrades easier and keeps your setup looking tidy.
Inspect Hardware: Periodically check all hardware components for signs of wear or damage. Loose connections or damaged components can lead to performance issues or system failure.
Considerations for Upgrading Components
Upgrading components is a great way to extend the lifespan of your gaming PC and improve its performance. Here are key considerations when planning upgrades:
Compatibility: Ensure that new components are compatible with your existing hardware. Check the specifications of your motherboard, power supply, and case to avoid issues. For more on this, see our guide on gaming pc components.
Performance Gains: Evaluate the potential performance gains from upgrading specific components. For instance, upgrading your GPU can significantly improve gaming performance, while additional RAM can enhance multitasking capabilities. Check the good gaming pc specs to determine the best upgrade path.
Power Supply Requirements: New components, especially high-end GPUs, may require more power. Ensure your power supply unit (PSU) can handle the increased load. Refer to our article on gaming pc power usage for more details.
Storage Needs: Consider adding more storage if you frequently run out of space. Upgrading to a faster SSD can also improve load times and overall system responsiveness. Learn how to add storage to gaming pc.
Cooling Solutions: High-performance components generate more heat, requiring efficient cooling solutions. Upgrading to better fans or a liquid cooling system can help maintain optimal temperatures. More details can be found in our section on gaming pc cooling systems.
Future-Proofing: When upgrading, think about future-proofing your PC. Investing in higher-end components may save you money in the long run by delaying the need for further upgrades.
Budget Considerations: Balance your upgrades within your budget. Prioritize components that will provide the most significant performance improvements. For budget planning, visit our guide on gaming pc budget.
| Component | Average Lifespan (Years) | Recommended Upgrade Frequency |
|---|---|---|
| CPU | 5-7 | 4-5 |
| GPU | 3-5 | 3-4 |
| RAM | 8-10 | 5-6 |
| SSD/HDD | 3-5 | 4-5 |
| PSU | 5-10 | 7-8 |
| Cooling System | 3-5 | 3-4 |
Regular maintenance and strategic upgrades can keep your gaming PC running smoothly and efficiently for years. For more detailed guides, explore our related articles on build a gaming pc and optimize pc for gaming.


