


How to build a gaming pc
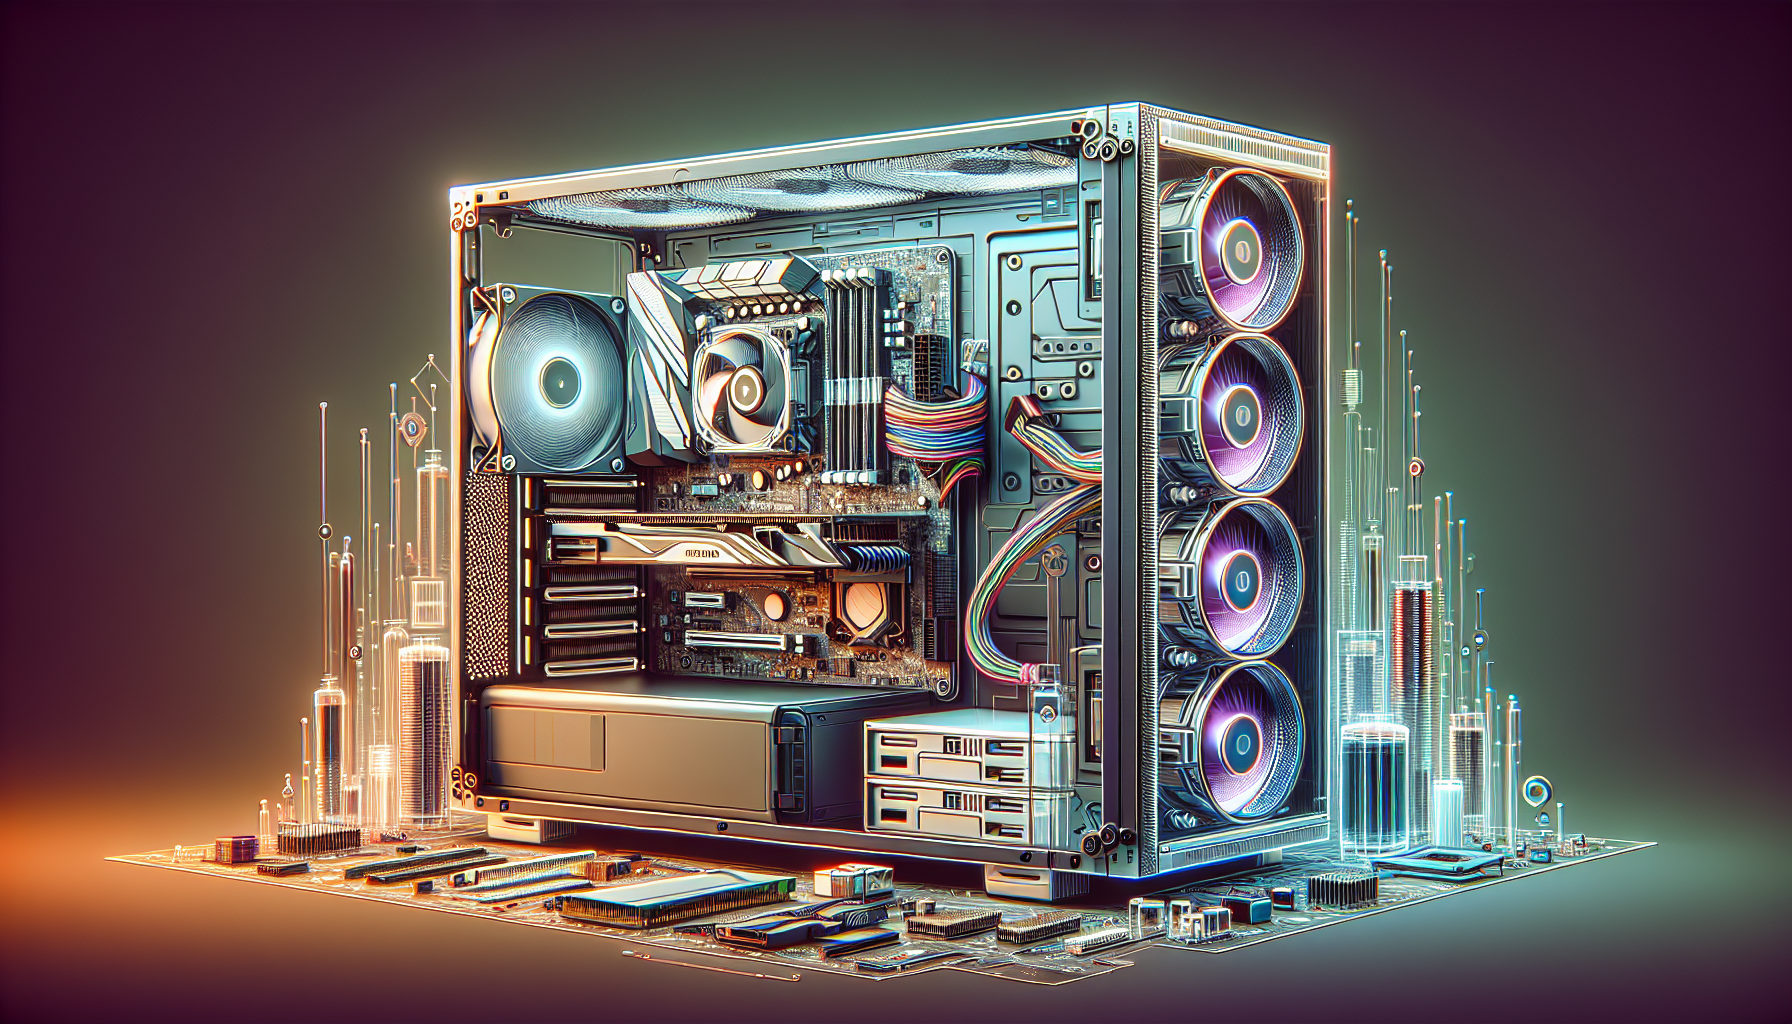
Introduction to Building a Gaming PC
Building your own gaming PC can be a rewarding endeavour, offering numerous advantages over purchasing a pre-built system. However, it's crucial to understand the benefits and considerations before embarking on this journey.
Benefits of Building Your Own Gaming PC
Customisation: One of the primary benefits of building your own gaming PC is the ability to customise your setup according to your specific needs. This includes selecting high-performance components, choosing the aesthetic of your build, and ensuring compatibility with future upgrades.
Cost-Effectiveness: Building a gaming PC can be more cost-effective compared to buying a pre-built system. By carefully selecting components, you can get better performance for your budget. For more details on budgeting, visit our article on the cost to build a gaming pc.
Learning Experience: The process of building a PC provides an educational experience, enhancing your understanding of computer hardware. This knowledge can be beneficial for troubleshooting and future upgrades.
Performance: Custom-built PCs often offer better performance as you can choose the best components for gaming. This includes selecting the right CPU, GPU, RAM, and storage options, which can significantly enhance your gaming experience.
Factors to Consider Before Building
Budget: Determine your budget before starting your build. This will guide your component selection and help you avoid overspending. For budgeting tips, check our article on gaming pc budget.
Component Compatibility: Ensure that all selected components are compatible with each other. This includes checking the motherboard socket type for the CPU, the size of the GPU, and the power requirements. For more information on compatibility, see our article on gaming pc components.
Future Upgrades: Consider the potential for future upgrades. Opt for a motherboard and power supply that can accommodate additional components or more powerful upgrades in the future. Learn more about upgrade potential in our article on future upgrade potential.
Skill Level: Assess your skill level and comfort with building a PC. While it can be a fun and educational experience, it does require some technical knowledge and patience. If you're new to PC building, our guide on build gaming pc for beginners can be a helpful resource.
Time Investment: Building a PC requires time for research, assembling the components, and troubleshooting any issues that may arise. Ensure you have enough time to dedicate to this project.
Support and Warranty: Unlike pre-built systems, individual components come with their own warranties. Be prepared to handle warranty claims directly with the manufacturers if any issues arise.
By considering these factors and understanding the benefits, you can make an informed decision on whether building a gaming PC is the right choice for you. For more guidance on building a PC, explore our comprehensive guide on build your own gaming pc.
Essential Components for a Gaming PC
Building a gaming PC requires careful selection of components to ensure optimal performance and compatibility. Let's explore the key components needed for constructing a gaming powerhouse.
Central Processing Unit (CPU)
The CPU is the brain of the computer, executing instructions and managing operations. For gaming, a powerful CPU ensures smooth performance and quick processing of game data. When choosing a CPU, consider the number of cores and threads, as these influence multitasking and game performance.
| CPU Specification | Details |
|---|---|
| Cores | 4 - 16 |
| Threads | 8 - 32 |
| Base Clock Speed | 3.0 - 4.0 GHz |
| Boost Clock Speed | 4.0 - 5.0 GHz |
Graphics Processing Unit (GPU)
The GPU handles rendering images, videos, and animations. It is crucial for gaming as it directly impacts the quality and frame rate of games. Higher-end GPUs provide better performance and support higher resolutions and graphics settings.
| GPU Specification | Details |
|---|---|
| VRAM | 4 - 16 GB |
| Core Clock Speed | 1.5 - 2.5 GHz |
| Memory Type | GDDR5, GDDR6 |
Random Access Memory (RAM)
RAM is essential for multitasking and loading game assets quickly. For gaming, 16GB is a standard starting point, but 32GB can future-proof the system.
| RAM Specification | Details |
|---|---|
| Capacity | 16 - 32 GB |
| Speed | 3000 - 3600 MHz |
| Type | DDR4, DDR5 |
For more information on selecting the right RAM, see our article on gaming pc ram.
Storage Options (SSD, HDD)
Storage options include Solid State Drives (SSD) and Hard Disk Drives (HDD). SSDs are faster and more reliable, reducing game load times significantly. HDDs offer larger storage capacities at a lower cost.
| Storage Type | Capacity | Read/Write Speed |
|---|---|---|
| SSD | 256GB - 2TB | 500 - 3500 MB/s |
| HDD | 1TB - 4TB | 80 - 160 MB/s |
For additional storage tips, visit add storage to gaming pc.
Power Supply Unit (PSU)
The PSU provides power to all components. It’s vital to choose a PSU with enough wattage to support the entire system, including future upgrades.
| PSU Specification | Details |
|---|---|
| Wattage | 500 - 850W |
| Efficiency Rating | 80+ Bronze, Silver, Gold |
| Modular | Semi, Full |
For more insights on power supply requirements, refer to gaming pc power usage.
Motherboard
The motherboard connects all components, facilitating communication between them. It should be compatible with the CPU, GPU, and RAM while offering necessary features like multiple PCIe slots, USB ports, and networking options.
| Motherboard Specification | Details |
|---|---|
| Socket Type | Compatible with chosen CPU |
| Form Factor | ATX, Micro-ATX, Mini-ITX |
| RAM Slots | 2 - 4 |
| PCIe Slots | 2 - 4 |
Selecting the appropriate motherboard ensures that all components work efficiently together. For more details on choosing the right components, explore gaming pc components.
Understanding these essential components is the first step towards building a gaming PC. Each part plays a crucial role in ensuring a seamless and immersive gaming experience. For more guidance on building a gaming PC, check out build a pc for gaming.
Choosing the Right Components
Selecting the appropriate components is crucial when you plan to build a gaming PC. Here are the key considerations to keep in mind: compatibility, performance versus budget, and future upgrade potential.
Compatibility Considerations
Ensuring that all components are compatible is the first step in building a reliable gaming PC. The motherboard is the central hub, and it must support the CPU, RAM, and GPU you intend to use. Compatibility considerations include:
- Socket Type: The CPU must fit the motherboard's socket type.
- RAM Type: Ensure the motherboard supports the type and speed of RAM chosen.
- PCIe Slots: Verify that there are enough PCIe slots for your GPU and any additional cards.
- Power Supply: Ensure the PSU has enough wattage and the right connectors for all components.
| Component | Compatibility Factors |
|---|---|
| CPU | Socket type, chipset |
| RAM | Type (DDR4, DDR5), speed |
| GPU | PCIe slot, power connectors |
| PSU | Wattage, connectors |
For more details on compatible components, check our article on gaming pc components.
Performance vs. Budget
Balancing performance and budget is essential. High-end components offer excellent performance but can be costly. Mid-range components can provide good performance at a more reasonable price.
Consider the following:
- CPU: A powerful CPU can improve gaming and multitasking.
- GPU: The most critical component for gaming performance.
- RAM: More RAM can enhance performance, particularly in demanding games.
- Storage: SSDs offer faster load times compared to HDDs.
| Component | Budget Range (AUD) | Performance Impact |
|---|---|---|
| CPU | $150 - $600 | High |
| GPU | $200 - $800 | Very High |
| RAM | $50 - $200 | Medium |
| Storage | $50 - $300 | Medium |
For further insights on managing costs, visit our page on gaming pc budget.
Future Upgrade Potential
Planning for future upgrades can save money in the long run. Choose a motherboard with extra RAM slots and multiple PCIe slots, and a PSU with higher wattage to accommodate future components.
Key considerations include:
- Expandable RAM: More slots allow for additional memory.
- Extra PCIe Slots: For additional GPUs or other peripherals.
- High-Wattage PSU: To support future upgrades.
| Component | Upgrade Potential |
|---|---|
| Motherboard | Extra RAM slots, PCIe slots |
| PSU | Higher wattage |
| Case | Space for additional components |
For more information on upgrading, check out future-proofing your gaming PC.
By carefully considering compatibility, budget, and future upgrades, gamers can build a gaming PC that meets their needs and remains viable for years to come. For a detailed guide on the building process, visit build your own gaming pc.
Assembling Your Gaming PC
Building your own gaming PC can be a rewarding experience, but it requires careful attention to detail and a methodical approach. In this section, we'll guide you through the process of assembling your gaming rig, from start to finish.
Step-by-Step Guide to Building
- Prepare Your Workspace: Ensure you have a clean, static-free area to work in. Gather all the necessary tools, including a screwdriver, thermal paste, and an anti-static wrist strap.
- Install the CPU: Open the CPU socket on the motherboard and align the CPU correctly. Gently place it into the socket and secure it.
- Install the RAM: Locate the RAM slots on the motherboard. Open the clips, align the RAM sticks, and press them in until the clips snap back into place.
- Attach the Cooler: Apply thermal paste to the top of the CPU, then install the CPU cooler according to the manufacturer’s instructions.
- Install the GPU: Locate the PCIe slot on the motherboard, remove the necessary expansion slot covers, and insert the GPU. Secure it with screws.
- Mount the Motherboard: Place the motherboard into the case, aligning it with the standoffs. Secure it with screws.
- Install Storage: Mount your SSD or HDD in the designated bays. Connect the power and data cables to the motherboard.
- Install the PSU: Place the power supply unit in the case and secure it with screws. Connect the necessary power cables to the motherboard, GPU, and storage devices.
- Connect Front Panel Connectors: Attach the case’s front panel connectors (power button, USB ports, audio ports) to the motherboard.
Safety Precautions and Handling Components
- Anti-Static Measures: Always wear an anti-static wrist strap to prevent static electricity from damaging sensitive components.
- Handle Components by Edges: Avoid touching the gold connectors or circuitry. Always handle components by their edges.
- Avoid Force: If a component doesn’t fit easily, double-check its alignment and compatibility. Forcing components can cause damage.
- Keep Workspace Clean: Ensure your work area is free of dust and debris that could interfere with assembly.
- Stay Organised: Keep screws and small parts in labeled containers to avoid losing them.
Cable Management Tips
- Plan Your Cable Routes: Before connecting cables, plan their routes to minimise clutter and improve airflow.
- Use Cable Ties: Secure cables with zip ties or Velcro straps to keep them neat and prevent them from obstructing airflow.
- Utilise Case Features: Use the cable management features in your case, such as grommets and tie-down points, to route cables efficiently.
- Avoid Over-Tightening: When securing cables, avoid over-tightening zip ties as this can damage the cables.
- Check Connections: Ensure all cables are securely connected and not strained. This includes power cables, data cables, and front panel connectors.
By following these steps and tips, you can successfully assemble your gaming PC and ensure it operates efficiently. For more detailed information on each component, refer to our article on gaming pc components. Additionally, if you're interested in optimising your PC's performance, check out our guide on optimise pc for gaming.
Installing Operating System and Drivers
After assembling your gaming PC, the next crucial step is installing the operating system and the necessary drivers. This ensures your system runs smoothly and is ready for gaming.
Setting Up Your Operating System
The first step in this process is setting up your operating system. Most gamers prefer using Windows due to its compatibility with a wide range of games and gaming software. To begin:
- Insert the installation media (USB or DVD) into your PC.
- Power on your PC and enter the BIOS/UEFI settings (usually by pressing a key like F2, DEL, or ESC during boot).
- Set the installation media as the primary boot device.
- Save changes and reboot your PC.
Your system should now boot from the installation media and guide you through the installation process. Follow the on-screen prompts to install the operating system. Make sure to choose the correct drive and partition for the OS installation.
Installing Necessary Drivers
Once the operating system is installed, the next step is to install the necessary drivers. Drivers are essential for your hardware components to communicate effectively with the OS. The key drivers you need include:
- Motherboard Drivers: These drivers ensure all motherboard features work correctly.
- GPU Drivers: Essential for optimal graphics performance.
- Network Drivers: For internet connectivity.
Steps to Install Drivers:
- Motherboard Drivers:
- Visit the motherboard manufacturer's website.
- Download the latest drivers for your specific motherboard model.
- Install the downloaded drivers.
- GPU Drivers:
- Go to the GPU manufacturer's website.
- Download the latest drivers for your graphics card.
- Follow the installation instructions.
- Network Drivers:
- If not already installed by the OS, download the network drivers from the motherboard or network card manufacturer's website.
- Install the drivers to enable internet connectivity.
Testing Your System
After installing the drivers, it's crucial to test your system to ensure everything is functioning correctly. Here are some steps to follow:
- Check Device Manager:
- Open Device Manager (search for it in the Start menu).
- Ensure there are no warning signs (yellow exclamation marks) next to any hardware components.
- Run Performance Benchmarks:
- Use benchmarking software to test your CPU, GPU, and RAM performance.
- Compare the results with expected performance levels.
- Install and Run a Game:
- Install a game that you frequently play.
- Check for smooth gameplay and monitor the system's performance.
By following these steps, you can ensure that your gaming PC is ready for action. For more tips on optimising your system, check out our article on optimise pc for gaming.
| Task | Description |
|---|---|
| Setting Up OS | Install Windows via USB/DVD |
| Motherboard Drivers | Download and install from manufacturer's website |
| GPU Drivers | Download and install from GPU manufacturer's site |
| Network Drivers | Ensure internet connectivity by installing network drivers |
| System Testing | Run benchmarks, check Device Manager, test with a game |
For more guidance on building and optimizing your gaming PC, visit our articles on build a gaming pc and optimize pc for gaming.
Optimising Your Gaming PC
Once you've built your gaming PC, optimisation is key to ensuring peak performance and longevity. This section will cover overclocking potential, monitoring and maintenance, and customisation options.
Overclocking Potential
Overclocking involves increasing the clock rate of your CPU or GPU beyond the manufacturer's specifications to achieve better performance. This can significantly enhance gaming experiences but must be done cautiously to avoid overheating and potential damage.
| Component | Stock Clock Speed | Potential Overclock Speed |
|---|---|---|
| CPU | 3.6 GHz | 4.2 GHz |
| GPU | 1500 MHz | 1750 MHz |
Before overclocking, ensure your cooling system is adequate. Proper ventilation and additional cooling solutions can prevent overheating. Check out gaming pc fans for more information on cooling options.
Monitoring and Maintenance
Regular monitoring and maintenance are essential for the health of your gaming PC. Use software tools to keep an eye on temperature, voltage, and performance metrics.
| Component | Ideal Temperature Range |
|---|---|
| CPU | 30°C - 70°C |
| GPU | 30°C - 85°C |
Dust accumulation can hinder performance and cause overheating. Clean your PC components regularly, and ensure that cables are managed effectively to promote airflow. For more tips, visit optimise pc for gaming.
Customisation Options
Customisation allows you to tailor your gaming PC to your preferences. This can include aesthetic changes such as RGB lighting, as well as hardware upgrades like adding more storage or RAM.
- RGB Lighting: Enhance the visual appeal with customisable lighting.
- Additional Storage: Upgrade your storage with SSDs or HDDs. Learn more about how to add storage to a gaming pc.
- RAM Upgrades: More RAM can improve multitasking and gaming performance. See gaming pc ram for details.
Customisation not only enhances the look of your gaming PC but can also improve performance and functionality. Explore various options to keep your gaming rig up to date and uniquely yours.


